
If you’ve got an old Hi-Fi or sound system with an AUX input, this project is for you. Try balenaSound, a starter project to quickly and easily add Bluetooth, Airplay and Spotify Connect and multi-room capability to an old Hi-Fi, speakers, or any other audio device using only a Raspberry Pi!

Before you start
Updates
We’re continually updating this post along with the project code, you can find a log of all our updates below.
- 6th October 2020: Updated instructions for balenaSound v3.0
- 7th July 2020: Added links to official app site for docs, troubleshooting, and more.
- 21st May 2020: This project now supports deploy to balena – code wrangling by hand is no longer required!
- 10th March 2020: This project now supports multi-room audio
- Updated 9th January 2020: You can now add multiple projects to the same device. Try combining balenaSound with another project — oh the possibilities!
- Updated 14th October 2019: Now works with the Raspberry Pi 4B
- Updated 7th October 2019: Now supports Airplay and Spotify Connect alongside Bluetooth
Introduction
![]()
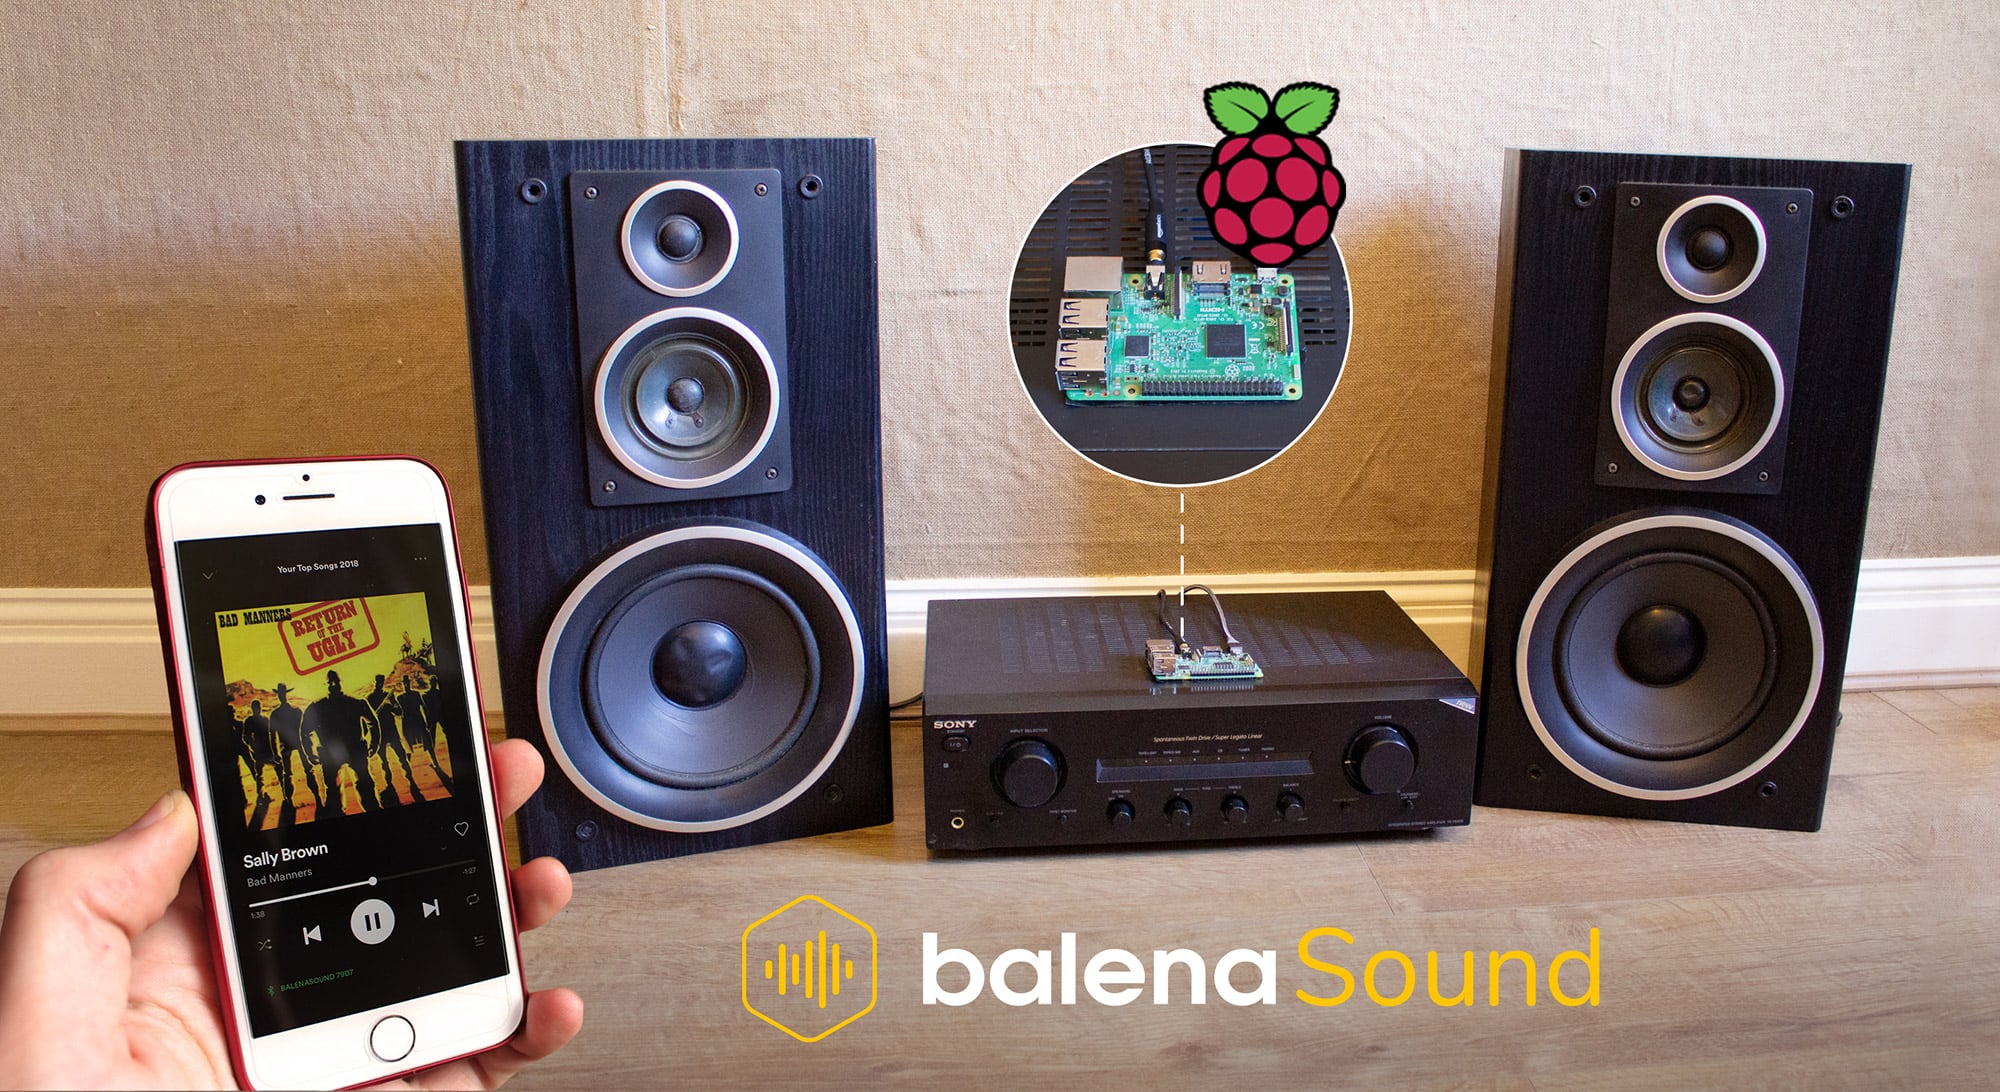
A lot of people have older and probably still great, high-quality audio systems that no longer get used, simply because they’re inconvenient. We’ve decided to address that with this very simple project we’re calling balenaSound. We will show you how to build your own audio receiver which connects to the auxiliary(AUX) input of any audio device to give it modern streaming functionality. You’ll then be able to stream music to your audio setup from your phone, tablet, or laptop using Bluetooth, Airplay, or Spotify Connect.

All you need is a Raspberry Pi and a little bit of time. We’ve done all the hard work by configuring Bluetooth & the other services, and setting everything up in a repeatable format to get you up and running with minimal effort. It’s the perfect introduction if you’ve never tried a project like this before.
We’re going to guide you through setting up the Raspberry Pi, deploying the balenaSound project code onto it and then show you how to connect your audio system and get started with streaming.
Multi-room
Since version 2.0, balenaSound supports multiple, synchronized devices allowing you to build your own DIY Sonos or custom multi-room audio system. If you’ve only got one device, that still works great and as it did before. Now, you can simply flash another SD card with the same image and that device will play the same audio as your first device completely seamlessly.
As long as your devices are connected to the same WiFi network, they will automatically discover each other and synchronize audio output.
Hardware required

- Raspberry Pi 4B, 3A+, 3B, 3B+, Zero W device support matrix
- An SD Card (we always recommend SanDisk Extreme Pro SD cards)
- Power supply
- 3.5mm audio cable to the input on your speakers/Hi-Fi (usually 3.5mm or RCA)
- An audio system to connect
- (optional) Digital-analogue-converter(DAC) HAT (e.g. Pimoroni pHAT DAC) for better audio quality. DAC support matrix
Note: the Raspberry Pi Zero cannot be used on it’s own as it has no audio output. To use the Pi Zero you’ll need a the optional DAC HAT to get the project working.
Software required
- Software to flash an SD card (balenaEtcher)
- A free balenaCloud account to setup and manage the Pi
- (optionally) balenaCLI if you want to hack on your devices, work locally, etc.
Tutorial
Setup the Raspberry Pi
Once you’ve found all the hardware, we’re going to start setting up the Raspberry Pi. This project uses the Deploy to balena feature, so you’ll want to set up your free account ahead of time to get the most out of this convenient method.
Deploy with balena
Click this button
Then click Create and Deploy

This will create an application with all of the balenaSound code already deployed and all of the configuration settings preset. Remember to choose the correct device type here!
Tip: If you don’t already have a balenaCloud account, clicking the deploy button will take you to the signup page, where you can make a free one. If you have a Google or Github account, you can sign in with one of those.
Alternatively, you can clone the project repo and push it to your balenaCloud application using balenaCLI.
Add a device and download the balenaOS disk image from the dashboard
Once your application has been created, you can setup and add a device within that application by clicking the ‘add device’ button. When you add a device you specify your device type, which is important that it matches the device you’re using, and if you are connecting to a wireless network you can set your WiFI SSID and passphrase here too.
balenaOS 2.38 or higher is required for this project
Note: we’ve used a Raspberry Pi 3 in the image below but be sure to select the correct device type for the device you are using!

This process creates a customized image configured for your application and device type and includes your network settings if you specified them.
Note: When you’re first getting started, a development image will be most useful, as it permits a number of testing and troubleshooting features. More details on the differences between development and production images can be found here. If you’re confident you can go ahead and deploy the production image straight away.
Flash your SD card with the balenaOS disk image and boot the device
Once the OS image has been downloaded, it’s time to flash your SD card. You can use balenaEtcher for this.

Once the flashing process has completed, insert your SD card into the Raspberry Pi and connect the power supply.

When the device boots for the first time, it connects to the balenaCloud dashboard, after which you’ll be able to see it listed as online and move onto the next step.

Troubleshooting: It should only take a few minutes for the new device to appear in your dashboard, If your device still hasn’t shown up on your dashboard after a few minutes, something has gone wrong. There’s an extensive troubleshooting guide in the documentation, with lots of information on why this could be, but if you still can’t get your device online, come on over to the forums where we’ll be able to help out.
After the device appears online in the dashboard, it will start to download the balenaSound application; after a few minutes your device information screen in the dashboard should look something like this, showing the services running.

At this point you’re ready to move on, connect things up and give it a try!
Connect your speakers
Most Hi-Fi systems and powered speakers will include an auxiliary (AUX) input for connecting things such as your newly-created balenaSound device. To do this you’ll need to ensure you have the right cables. The audio output on the Raspberry Pi (and the PHAT DAC) is a 3.5mm stereo audio jack, and most AUX inputs are going to be either the same or perhaps more commonly a phono/RCA input, which are the individual red and white connectors. Therefore you’re going to need a cable to work with your setup. The AmazonBasics range is a good place to start looking, the cables are good quality without costing too much.
- 3.5mm to RCA cable (Amazon USA)
- 3.5mm to RCA cable (Amazon UK)


Using balenaSound
Give it a try
Once you’ve got your Pi powered up and your speakers connected, you’re ready to go! You’ve now got 3 options to use when connecting to your device from your phone, tablet or laptop: Bluetooth, Airplay and Spotify Connect.
Bluetooth
If you want to try Bluetooth, perform a scan for Bluetooth devices on your phone, tablet or laptop and you should see your balenaSound device ready to connect.

BalenaSound presents itself to your device as a Bluetooth audio receiver, so that once pairing is complete you can now send any audio output from your device to your old speakers!

AirPlay
BalenaSound supports Apple AirPlay (audio only). To give it a try, from a compatible device select the balenaSound device as an alternative audio output.

Spotify Connect
Last but not least, balenaSound also supports Spotify Connect. If you’re a Spotify user (only premium accounts are supported), you should see the balenaSound device come up as an additional output option there too. Note that Spotify will also show compatible Bluetooth and Airplay devices so it’s possible your device will show 3 times! Simply look for the icon to identify which streaming method is chosen.

Try Multi-room
As we mentioned earlier, since version 2, in addition to supporting single-device applications, balenaSound now supports multiple devices in a single application, which will seamlessly connect together to form a multi-room audio system!
To deploy a second (or third, fourth…) device, you simply need to flash the same OS image you downloaded for the first device to more SD cards, plug the devices in and power them up. That’s it! As long as you’re running the latest version there’s no need to push code again.
If you’ve lost or deleted the image you downloaded before, no problem! Go to the dashboard, find your application with your first device and go to ‘Add device’ in the same way as detailed above for your first device. Even if you’ve had to download the OS image again, there’s still no need to push code again; balenaCloud stores the most recent version of your code and applies it to any devices in the application.
You can read more about the release of multi-room here.
For those that don’t want to use this feature, you can disable it by adding an environment variable called SOUND_MODE to your app with a value of STANDALONE.
What next?
So, you’ve got the project running and are jammin’ to your old hi-fi system with a new lease of life! What now? Here are some ideas…
Customize your device name
What’s that? Don’t like the balenaSound xxxx name? We’ve got you covered! Simply add a device environment variable in the balenaCloud dashboard called SOUND_DEVICE_NAME and your device will reboot with a new name. This will apply to all services, not just Bluetooth.


Upgrade your audio with a DAC
The Raspberry Pi isn’t known for great audio quality (although in our experience it’s more than good enough for a lot of applications!); fortunately this has been addressed with a lot of manufacturers producing DACs for the Raspberry Pi. One I have tested and like for both its small size and low price is the Pimoroni PHAT DAC.

To use this you’ll need to add an additional custom configuration variable called BALENA_HOST_CONFIG_dtoverlay with a value of hifiberry-dac. Depending on the DAC the value might be different, so be sure to check our documentation for the correct value.

This essentially enables the I2S sound interface on the Raspberry Pi GPIO pins, enabling the external DAC to receive and process the audio output.
Try the HDMI out
If you’ve got an amplifier or receiver that has an HDMI input, you can also use the HDMI output of the Raspberry Pi to transfer a digital audio signal. You can route audio through the HDMI by setting the AUDIO_OUTPUT environment variable to RPI_HDMI0 (or RPI_HDMI1 for the secondary HDMI on the Raspberry Pi 4). Read more about selecting audio interfaces here.
Try building multiple projects on one device
If you’ve already built one of our projects and want to try this one too, good news! One of the great benefits of building with balena is that you can easily add more projects to the same device without needing to buy more hardware. This blog post that explains how to do just that: learn how to set up this project alongside what you’ve built already. Happy hacking!
Troubleshooting balenaSound
Did you know that balenaSound now has documentation, a troubleshooting guide, and an FAQ? Learn more about the project or find ways to contribute by visiting the official balenaSound app site.
Become a balena poweruser
Want to learn more about what makes balena work? Try one of our masterclasses. Each lesson is a self-contained, deep walkthrough on core skills to be successful with your next edge project.
Check them out at our docs. Also, reach out to us on the Forums if you need help.
Until next time…
Thanks for taking the time to check out our guide, we hope you had success with the project and added modern streaming functionality to some old speakers or a Hi-Fi. If you had trouble getting the project running or have any other feedback we’d love to hear it; everything helps to improve our projects and tutorials for next time.
Find, try, and submit your own projects on balenaHub
You’ll find this edge project and many others at balenaHub, our marketplace for IoT and edge projects. With a quick search, find your next edge project, from digital signage, surveillance, edge AI, audio analysis, and more. Or create your own project and share it with the world.
You can always find us on the forums at https://forums.balena.io, on Twitter @balena_io, on Instagram @balena_io or on Facebook.
Acknowledgements
This project is made possible by the awesome work of various open source projects, including Shairport Sync for Airplay, Raspotify for Spotify Connect and Snapcast for multi-room audio sync.
Join the discussion at forums.balena.io