
Maybe you know someone who doesn’t know their Hangouts from their Skype, or who doesn’t have any internet connected devices at all, but would love to see you on a video call. How about connecting a TV and webcam to a Raspberry Pi and turning it into a video window you can remotely administer? Let’s go!
For some households, having the whole family crowd round a tablet to video call friends or relatives just isn’t ideal. This setup lets you connect with friends and family using the television instead– all in a few easy steps.
Introduction
During the Covid-19 pandemic, more and more people have turned to video calls to keep in touch with work, family, and friends. For lots of those people, the only difficult bit was deciding which platform to use and which apps to install on their devices. But in this time of social isolation, there are a large group of people who do not know how to use video chat software, or maybe even don’t have a device they could use for one.
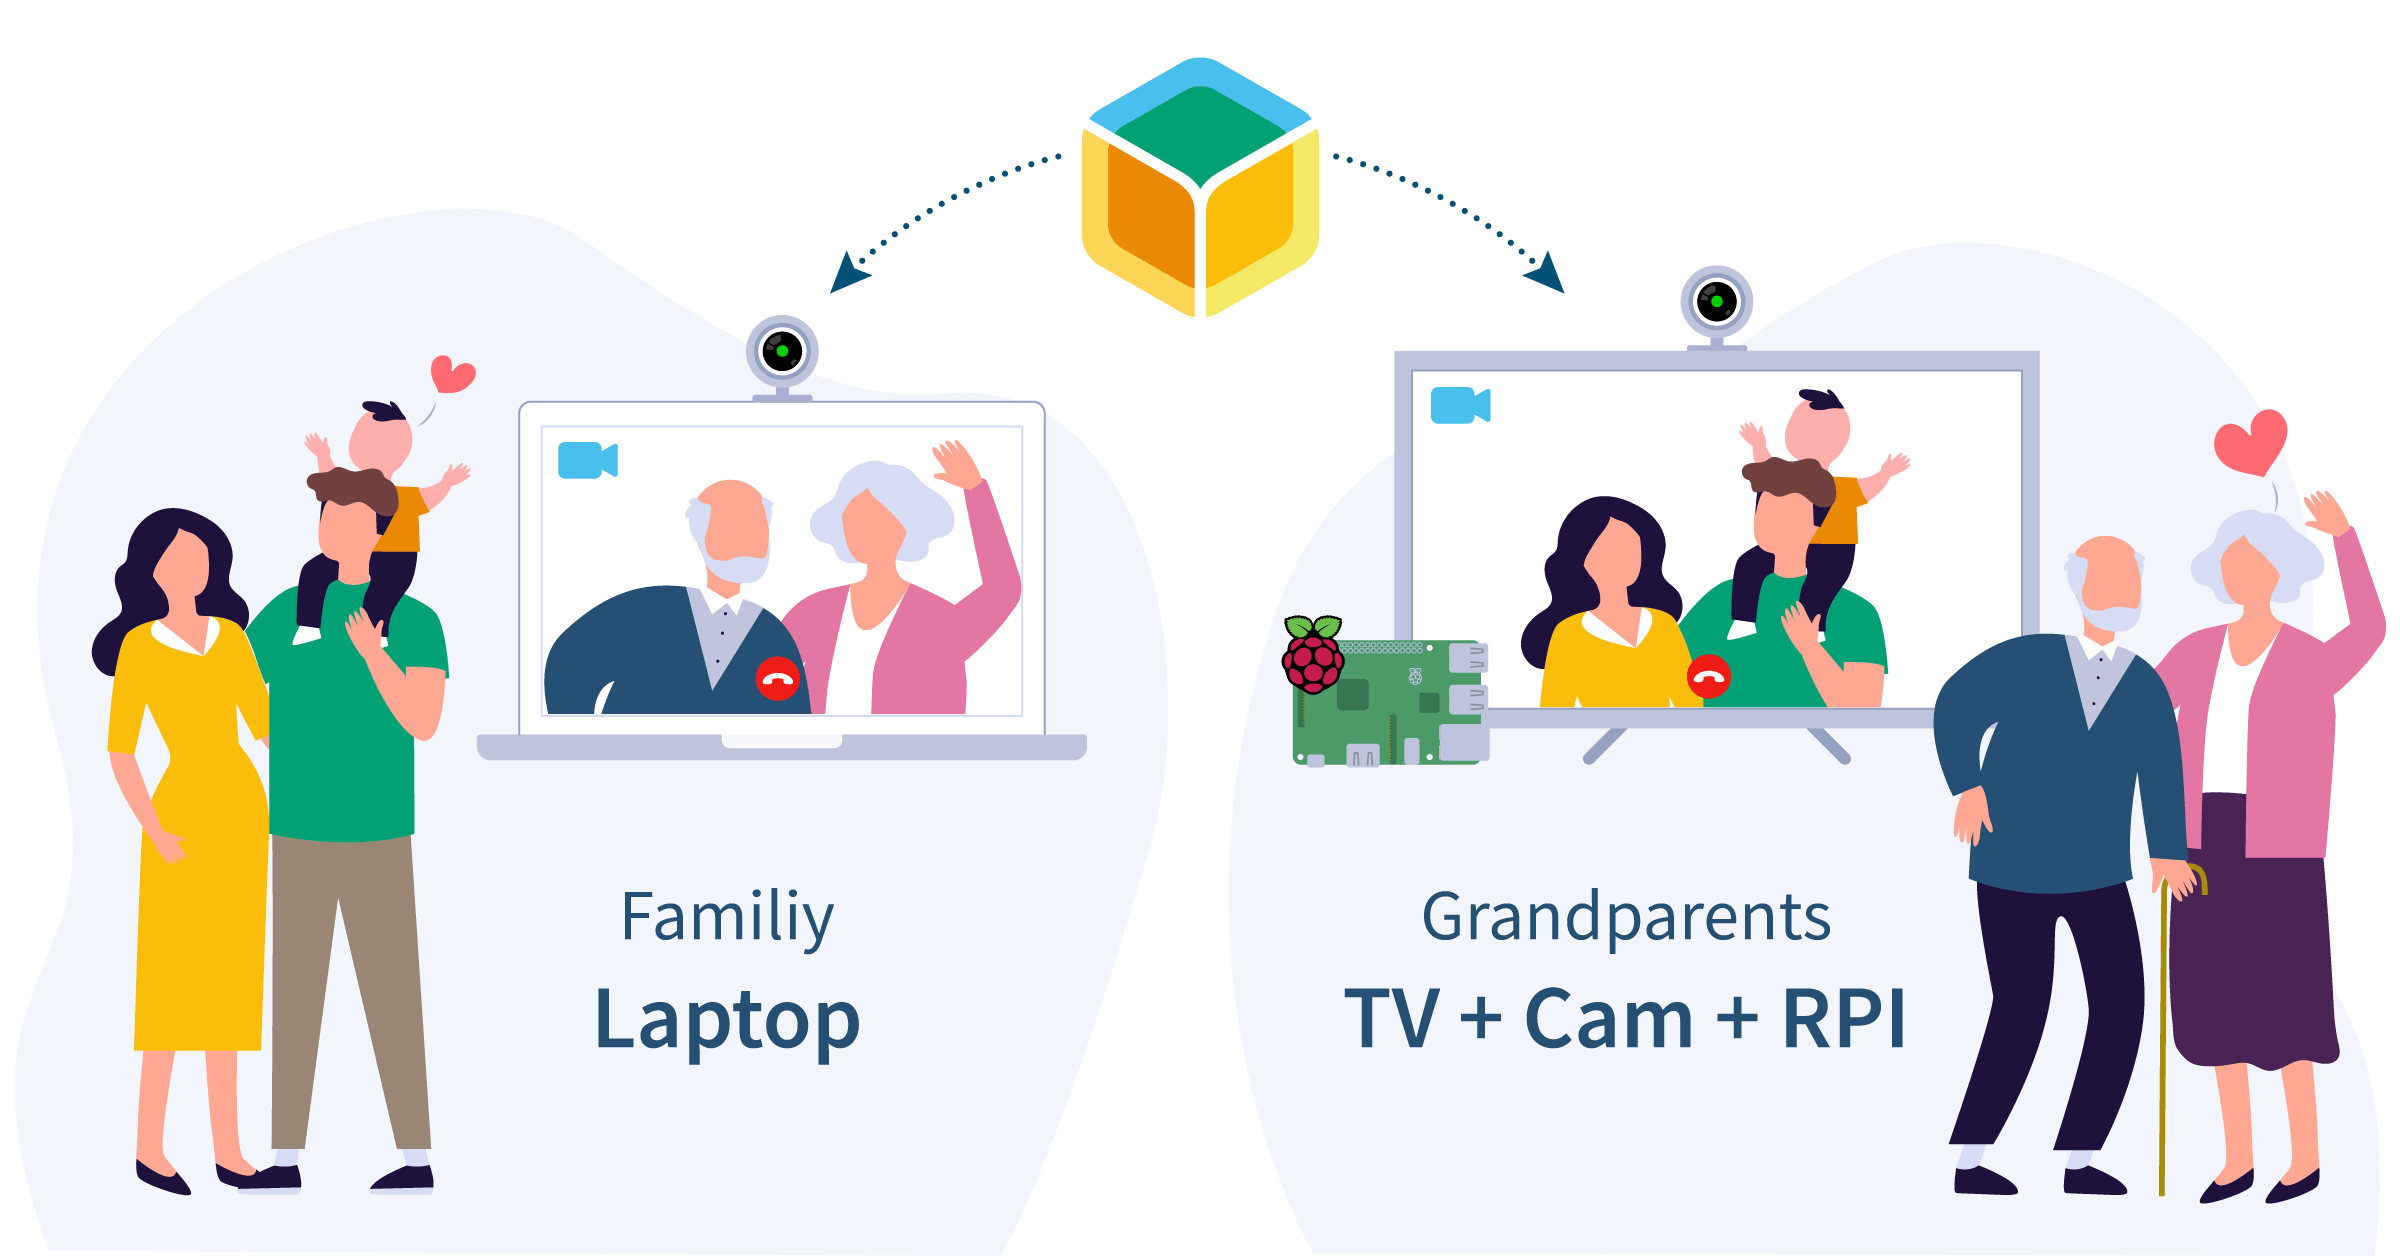
It’s with people who might need a little more technical help in mind that we at balena decided to turn our balenaDash project into an instant video call project. The idea is that the components can be put together and provisioned, everything is passed (safely!) to the non-techy people, they plug it into their TV, then remotely and securely the device can be told to make a video call.
Let’s get started!
Hardware required
- Raspberry Pi 4B
- A 16GB or greater micro SD Card (we always recommend SanDisk Extreme Pro SD cards)
- Power supply (we recommend the official Pi 4 PSU)
- Micro-HDMI to HDMI cable
- TV (or display/monitor) with HDMI port
- A USB webcam (we have tested Microsoft Lifecam 3000, Logitech C920)
- A USB mouse (for setup only)
- A 4G USB dongle with data credit (optional)
Software required
- A download of balenaDash software from GitHub
- Software to flash an SD card (we recommend balenaEtcher)
- A free balenaCloud account to setup and manage the Pi
Tutorial
Setup the Raspberry Pi
Once you’ve found all the hardware and prepared all the software, we’re going to start setting up the Raspberry Pi. This project uses the Deploy to balena feature, so you’ll want to set up your free account ahead of time to get the most out of this convenient method.
Set up balenaCloud, and push balenaDash to a new application
Click this button:
Then click Create and Deploy

This will create an application with all of the balenaDash code already deployed and all of the configuration settings preset!
Tip: If you don’t already have a balenaCloud account, clicking the deploy button will take you to the signup page, where you can make a free one. If you have a Google or Github account, you can sign in with one of those.
Add a device and download the balenaOS disk image from the dashboard
Add a device within that application by clicking the ‘Add Device’ button. If you are connecting to a wireless network, you can set your WiFI SSID and passphrase here too. Otherwise, a wired connection will suffice.
Note: If this project is destined to be in someone else’s house when it’s complete, you can still put your own WiFI details here, and we’ll use one of the project’s services to move it to a different network when we’re done.

This process creates a customized image configured for your application and device type, and includes your network settings if you specified them.
When you’re first getting started, a development image will be most useful, as it permits a number of testing and troubleshooting features. More details on the differences between development and production images can be found here.
Flash your SD card with the balenaOS disk image and boot the device
Once the OS image has been downloaded, it’s time to flash your SD card. balenaEtcher is perfect for this.

Setup your Pi
Take your mini-HDMI to HDMI cable:

…and plug it into the mini-HDMI out port closest to the power connector:

The HDMI end of the cable goes into the HDMI port in the TV:

Add your webcam
Now plug your webcam USB plug into the Raspberry Pi, making sure to use a blue USB 3.0 port.
We at Balena have verified this setup with the following cameras:
- Microsoft Lifecam HD 3000
- Logitech C920
Temporarily plug in the USB mouse
This can go into any of the USB ports that are free on the Pi. We’ll be removing it when it’s all set up anyway.
Power it up
Insert your SD card into the Raspberry Pi and connect the power supply.

When the device boots for the first time, it connects to the balenaCloud dashboard, after which you’ll be able to see it listed as online.

Troubleshooting: It should only take a few minutes for the new device to appear in your dashboard. If your device still hasn’t shown up on your dashboard after a few minutes, something has gone wrong. There’s an extensive troubleshooting guide in the documentation, with lots of information on why this could be, but if you still can’t get your device online, come on over to the forums where we’ll be able to help out.
Your device will then begin to download the balenaDash code and run it. After a few minutes your device information screen in the dashboard should show several services running:

When all of the services have downloaded and are running, your connected TV should now be playing a cool video about our balenaSound multi-room feature!
Deploy it: configure balenaCloud
You can now change some of the configuration settings of the application, to customize it. Within your application, on the left sidebar menu, click on “Device Service Variables.” Selecting the kiosk service, add the LAUNCH_URL setting, which is currently set to one of our YouTube videos:

You can experiment with that by pointing to other URLs, and we’ll use this in a moment to put your device into a video call.
The next one is also a device service variable, and controls whether a cursor is shown on the screen or not. It’s name is SHOW_CURSOR and it’s set to 0 by default which means we want to hide the cursor. Set it to 1 for now, as we’ll need the cursor to set up your webcam and microphone.

The reason why these are service variables (in case you were wondering) is so that only the Kiosk service restarts if we change them. This’ll come in handy later!
Setup the Browser
Playing videos is cool, but having a two way video call with a loved one is even better. So let’s get the camera working and make a call.
First, we’re going to go to Jitsi Meet and grab a call URL. Jitsi is an open source video conferencing platform, and provides a hosted and self-hosted option for users. What’s super cool about Jitsi meetings, and why we’re using it here, is that there is no need to make a user account, login, provide your name, or sit in a waiting room before you can join a meeting. You simply create a pretty URL and join it.
Let’s do it. On your computer open the Jitsi Meet page and click GO:

You should now be in a meeting, albeit on your own, and in the bottom right hand corner, there is a box with your meeting link:

Copy this link, and change your device service variable LAUNCH_URL to that Jitsi Meet link.
And what should auto-magic-ally happen is your TV has now joined the Jitsi meeting. Here’s where that mouse comes in, you should have some dialogue boxes asking for permission to use the camera and microphone. Click ‘Allow’:

And that may be enough for your setup to work. But for some people the camera will now work, but there’s no microphone, or an error from Jitsi about not being able to find the microphone.
For those unlucky people, there’s another step.
Config Mode
We’re going to need to get you access to the browser settings, so that you can configure your hardware. To do that, you’re going to set another Device Service Variable:

Setting this CONFIG_MODE to 1 tells the Kiosk service to run the browser like you’re used to seeing on a laptop, with all the menu bars visible. Again 1 means on and anything else means off.
Now, use Chromium’s three dots menu (the menu item at the top of the screen and not the bottom of Jitsi), and choose ‘Settings’:

In here move all the way to the bottom and open the ‘Advanced’ section:

Find ‘Site Settings’ and open that. Here we have options for the Camera and Microphone. Choose ‘Microphone’. At the top of this page there is a dropdown list of available microphones. Set this dropdown to your USB Webcam:

Lower down you should also see that the Jitsi URL appears in the Allow section, as in my image above. There is also a similar settings page for your camera, should you have any problems that need fixing there.
Once you are done, remove the CONFIG_MODE variable, and the device will go back to showing URLs in a nice neat Kiosk mode, with those settings you’ve made stored safely to ensure they work from now on!
Give it a try
Hopefully you now have a balenaDash with an added camera and microphone, that can be remotely dropped into Jitsi meetings. Make sure you alter your settings to remove the cursor and config mode:

You can also remove the USB mouse and then use your new video conference dash!
If you’ve made this project to try and help someone who’s isolated, you can now plug it into their TV and control it for them remotely! If they lack an internet connection of their own, remember that balenaDash has WIFI Connect so maybe you can ask one of their neighbours to create a guest wifi, and connect the device to that. Or otherwise use a USB modem and follow our guidance for how to get it running.
Become a balena poweruser
Want to learn more about what makes balena work? Try one of our masterclasses. Each lesson is a self-contained, deep walkthrough on core skills to be successful with your next edge project.
Check them out at our docs. Also, reach out to us on the Forums if you need help.
What we learned
As you may already know balena is a remote-first company, which means we have a LOT of video calls between us all. We’re incredibly used to seeing each other on our monitors, wearing a headset and that feeling “normal”. So when my colleague Chris and I tested this Pi & TV setup we were expecting it to feel like a normal video call…but it didn’t.

Testing with another colleague– it works!
When you put a video call onto your TV several things are very different: The sound comes out of the TV, so you aren’t using a headset. The camera is generally further away from you than when you are using your phone or laptop, so the other person gets a wider view of you in your environment. The person (or people) you’re talking to isn’t just a head bobbing about on your monitor, they are a fully formed person walking around their home, using furniture. They have legs!
All of this made the experience much more “real” than a video conference. I felt like I was in Chris’s living room and he was in mine. It felt more social. And I felt that if I had a loved one who was socially isolated, and I could place myself into their room, on their TV, and them on mine it would be a much connecting experience than a phone call or video call on a mobile device. It felt like the next best thing to actually being there. The only thing it was missing was a hug…but I don’t know if Chris is a huggy type of person so for now I’ll stick to waving.
If you have any questions or feedback, or have built your own version of this project, we’d love to see you share your work over in our forums or by posting on Twitter! Happy hacking!
Find, try, and submit your own projects on balenaHub
You’ll find this edge project and many others at balenaHub, our marketplace for IoT and edge projects. With a quick search, find your next edge project, from digital signage, surveillance, edge AI, audio analysis, and more. Or create your own project and share it with the world.
Hi there,
Can we use a CSI camera instead of a USB one ?
Thanks in advance