
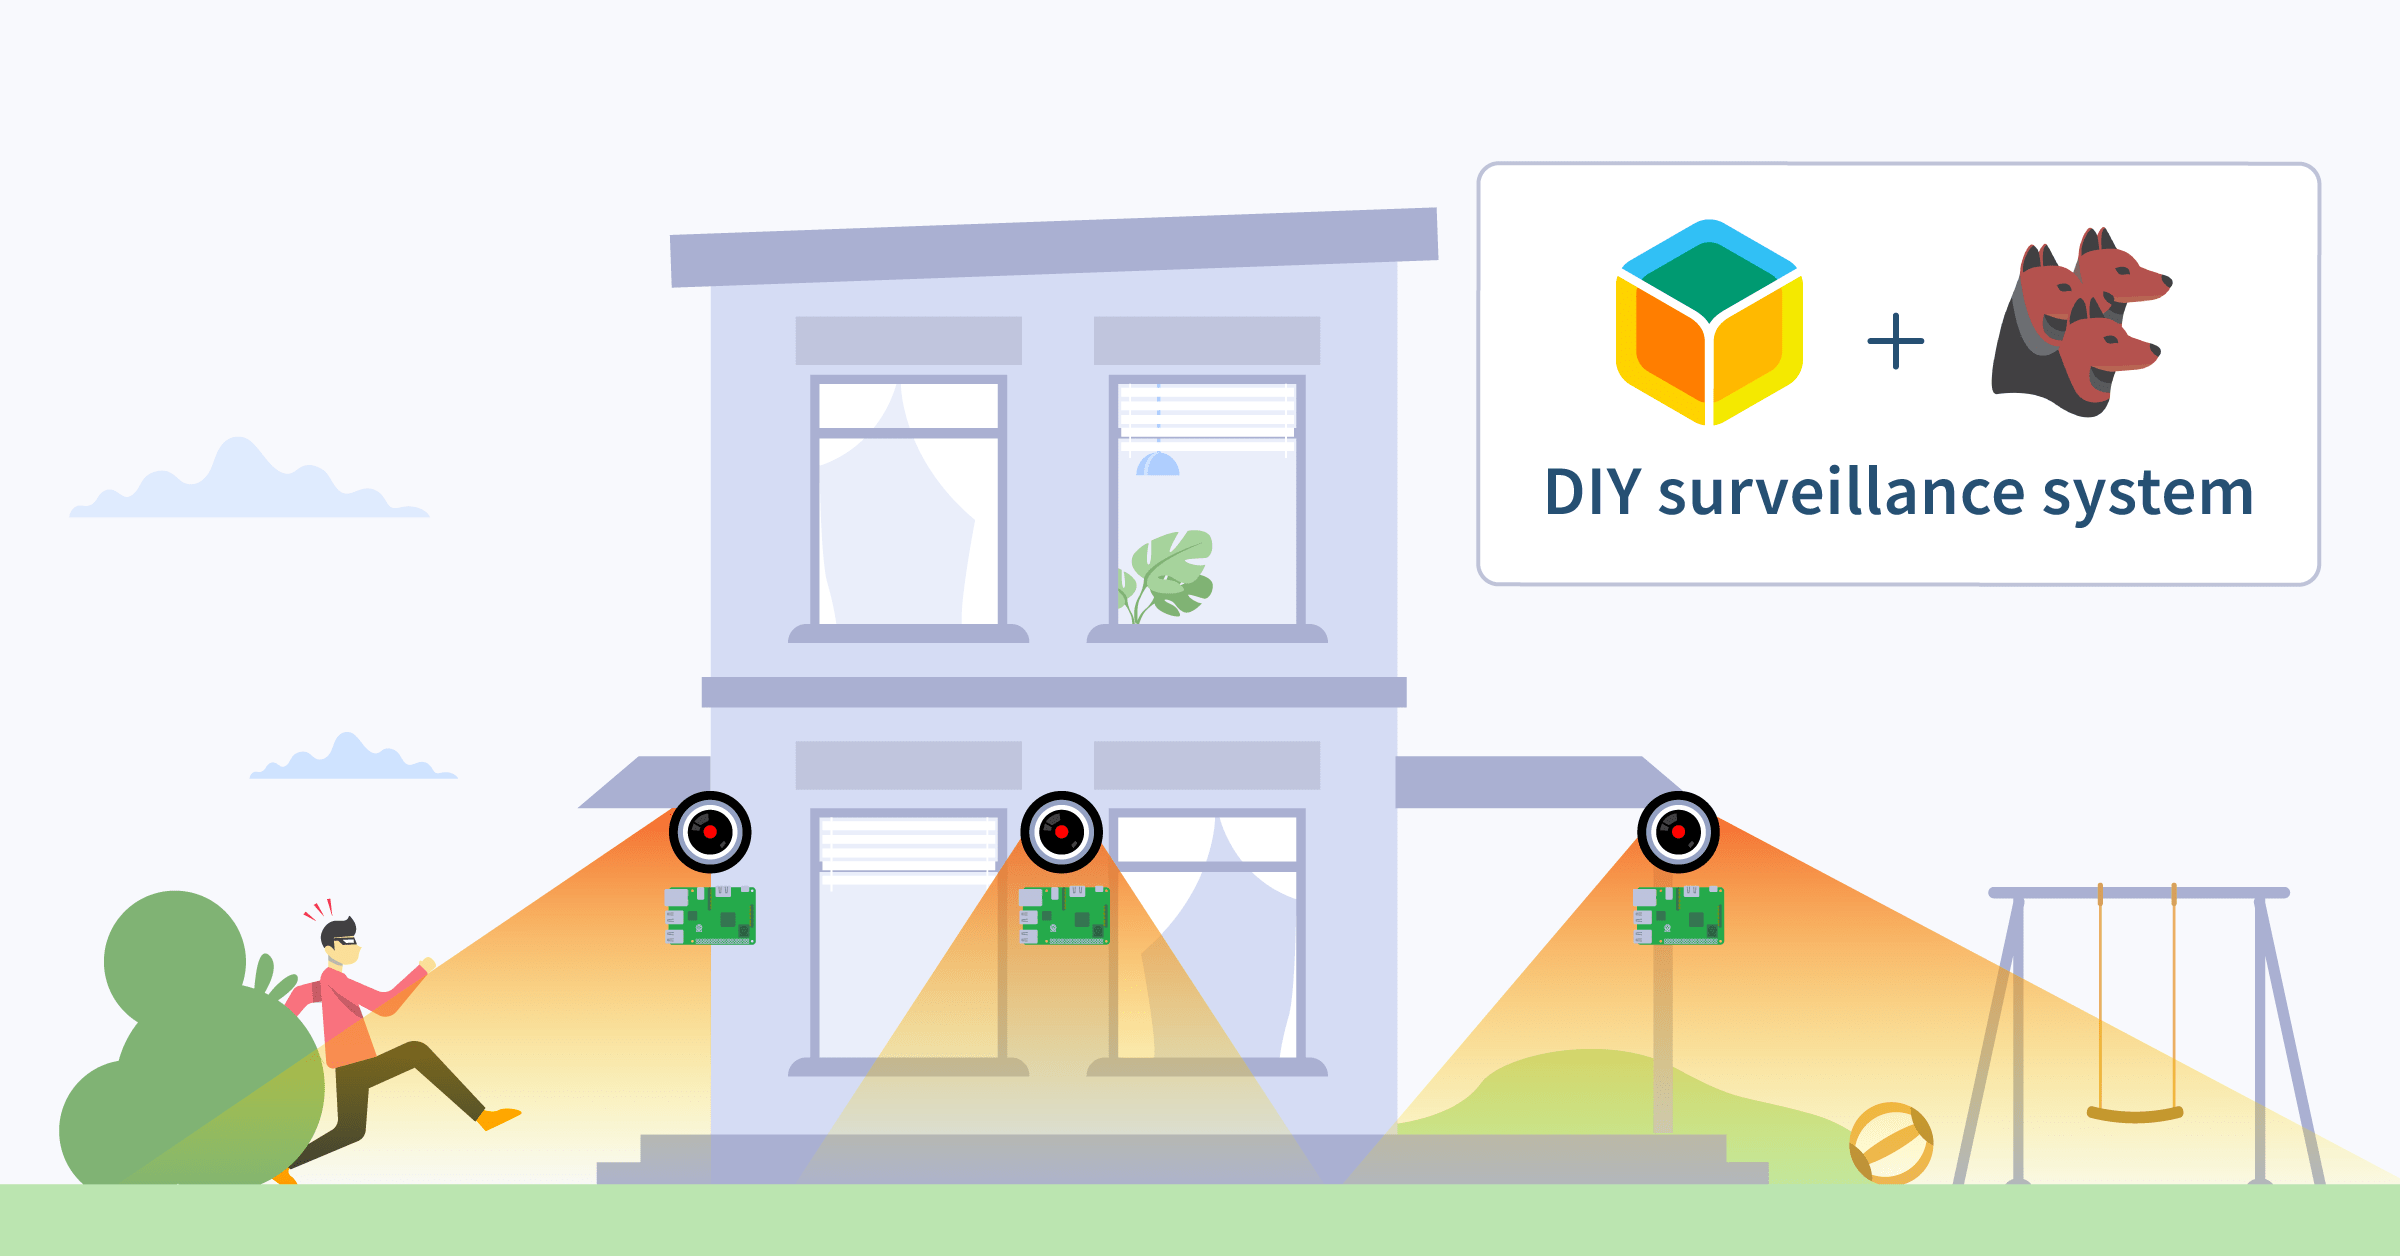
Use a single-board computer or spare laptop, a webcam and free software to build your own surveillance system.
There are many reasons for wanting security cameras: watching blind spots around your home, keeping a remote eye on your children playing, or finding where the delivery person lobbed your package. In fact, I have all of these reasons and more, so I set out to see how easy it would be for me to make my own using a webcam and a Raspberry Pi.
A quick search for Linux-based open-source video surveillance brought up a few names I’d heard of before, one of which was Kerberos.io. And, lo and behold, they had a balena section in their installation documentation. In less than an hour I had a system up and running, and I was monitoring the path down the side of my house to see if next door stole my recycling bin… again. 🙁
In this guide, we’ll use some balena Hardware Hacker superpowers to make it even easier to set up a security camera system for you, dear reader. Since it uses open source software and balena, it’s much more private than other cloud-focused solutions, too. None of your videos are being stored anywhere other than your device.
So grab a stopwatch, get ready…let’s GO!
Before you begin
Hardware required
Here’s the hardware you’ll need to get this project going.
- An armv7 (Raspberry Pi 2/3/3b+) or aarch64 (RaspberryPi 4 / NVIDIA Jetson Nano) single-board device. Or a spare AMD64 laptop.
- A 32GB+ SD Card (we recommend these)
- A USB webcam (be aware of its resolution specs– you’ll need this info for the build)
- A suitable power supply to power your single-board device and webcam
Software required
Have this software ready to help you speed through the build process.
- A free balenaCloud account (your first ten devices are free and fully-featured)
- A download of balenaEtcher to burn OS image to SD cards
- (optional, and will add time to your build) balenaCLI if you’re an advanced user who wants to hack on your devices, work locally, etc.
NOTE: Okay, okay, technically the timer should start here. Let’s roll.
Tutorial
Deploy the project to your account
Once you’re logged into your balenaCloud account (remember, the first ten devices are free and fully-featured), click the button below, and select the device type you want to use.
Kerberos.io works on armv7 (Raspberry Pi 2/3/3b+ and others), aarch64 (Nvidia Jetson, Raspberry Pi 4 and others) and AMD64 (laptops and desktops). Selecting your type of device will make the balena builders create the correct image for you and deploy it to your application.
How long did that take? Five minutes or so? We’re cookin’ with gas now!
For advanced users wanting to take their time
Alternatively, you can clone the project repo and push it to your balenaCloud application using balenaCLI. This opens the doors for local device hacking and tinkering, and more.
Add a device
Add a device within that application by clicking the ‘Add Device’ button. If you are connecting to a wireless network, you can set your WiFI SSID and passphrase here too. Otherwise, a wired connection will suffice (if your device has an ethernet port).

This process creates a customized image configured for your application and device type, and includes your network settings if you specified them.
Once the OS image has been downloaded, it’s time to flash your SD card. balenaEtcher is perfect for this, especially since it’s so fast.

Insert the SD card, plug the webcam into a USB port, and power on your device.
How long was that? 10 minutes?! Okay, we’ve got this!
Run the application
Now the really fun bit.
Once the device has powered on, it will join your balenaCloud application and download the Kerberos code, which it will run in a service called Main. Here’s an example of mine running on a Jetson Nano:

Click the slider highlighted, to turn on the PUBLIC DEVICE URL and click the link. This is going to open the Kerberos web dashboard. Another five minutes down, but we’re almost home!
Configure it
See! It did open the web dashboard. First we need to select a language:

Then choose a username and password, and we’re into the dashboard itself:

There is nothing there yet, but that’s because we need to configure the camera. Click “Configuration” at the top. Now we’re going to select “USB camera” :

My camera outputs at 1024×768 resolution, so I can add that in the dialogue:

Push “Confirm and select” and then “Update” at the bottom of the Configuration page:

Now, go back to the Dashboard, and voila!

Stop the Clock!!!
How did I do? 25 minutes!!! Get in!
So there you go: a security camera system, running on a spare device with a web camera, in under 30 minutes. Not too shabby!
Stretch Goals
Great, you have a Kerberos system running, and you can see next door stealing your bin (grrr!), but what else can you now do?
Well on the Kerberos side of things, there are a TON of options and configuration you can do. So I suggest taking a look at their excellent documentation to find out about motion detection, areas of interest and how to geek out with some stats.

A cool feature we like is the ability to use motion detection to trigger things like Webhooks (to integrate with external services like IFTTT), publish to MQTT topics, or even trigger GPIO pins on your device to control external electronics.
From the balena side, it’s the usual balena-magic. Since the device is exposing a public url, it means you can check your camera from anywhere in the world! If you happen to be out of town on bin day, you can still keep an eye on things (I see you neighbour!).
Build a whole fleet of cameras in little time
Plus, now that you have a working application in balenaCloud, you can easily add another device (of the same architecture) by going back to the section above, and flashing another SD card with Etcher. Why not make a fleet of cameras and keep a watch on all of your precious ~~bins~~ things?
You did most of the work using ‘Deploy with balena’ to add and deploy the new application. Now just follow the “Add device” step for every additional board and camera that you want.
Until next time
A surveillance camera system in less than 30 minutes, accessible from anywhere, with motion detection and more. Pretty cool!
Find, try, and submit your own projects on balenaHub
You’ll find this edge project and many others at balenaHub, our marketplace for IoT and edge projects. With a quick search, find your next edge project, from digital signage, surveillance, edge AI, audio analysis, and more. Or create your own project and share it with the world.
Acknowledgements
Huge props to Kerberos.io, including our friend Cedric Verstraeten.
And if you have tried it, props to you too. Did you beat my time? Let me know and why not let your friends know as well via Twitter, Instagram, or the Forums?
After all, we all have dustbins to protect, right?!?
Hi there,
I am running the APP with Kerberos on a Raspberry Pi 3B+ and it works nicely!
However, I am trying to access it from a remote location with no luck so far…
Would you recommend that I do port forwarding for this?
Is it possible to change the port from 80 to something more random for safety?
I do not know any computer languages but I find my way intuitively…
Thank you!
Federico.
Hello @frnini did you try the
Public Device URLon the balenaCloud dashboard?Out of that, you might go to the kerberos repo and try to play with the ports there.
Let us know how do you proceed!
Hi @mpous thanks for the help – yes the Public Device URL did the trick for me.
It was not working before due to router configuration but now it is
BTW,
Is there a way to update the WiFi credentials? (SSID name and pass) Currently I am connecting the camera to Ethernet since it is tricky to create a new Balena device every time I change the WiFi pass – the only way I know how to do it is by inserting the credentials when creating the device but I am sure there has to be a more practical way:
For context, I deployed the provided OS image on a Raspberry Pi 3b+ with Etcher.
Thank you!
Hello @frnini
Did you try to add
wifi-connectto your application? balenaHub – IoT embedded device apps, edge computing resources, and developer toolsGive it a try and let us know if that works for you
For Now I just re-deployed the Device.
I am running the Kerberos Hub SaaS app and the Balena OS image provided in the original post, so I cannot change the App.
Could there be a way of changing the SSID and pass by accesing the Balena-Cloud terminal?
Thanks again!
@frnini find here some instructions to change the WiFi credentials from balenaCloud Terminal. Let me know if this works for you → IoT Happy Hour #57: balenaOS network setup with NetworkManager – YouTube
Thanks a lot! will try this, but right now I am having an issue with balena etcher which I need to solve first – I am getting a blanck screen.
Will update soon, cheers!
We’ve release the new Kerberos Agent with a new technology stack and most-wanted features. We’ve also created a brand new Balena Block and Balena App called video-surveillance.
We’ll be creating a new recording as well, and might update the existing blog to be up to date.