
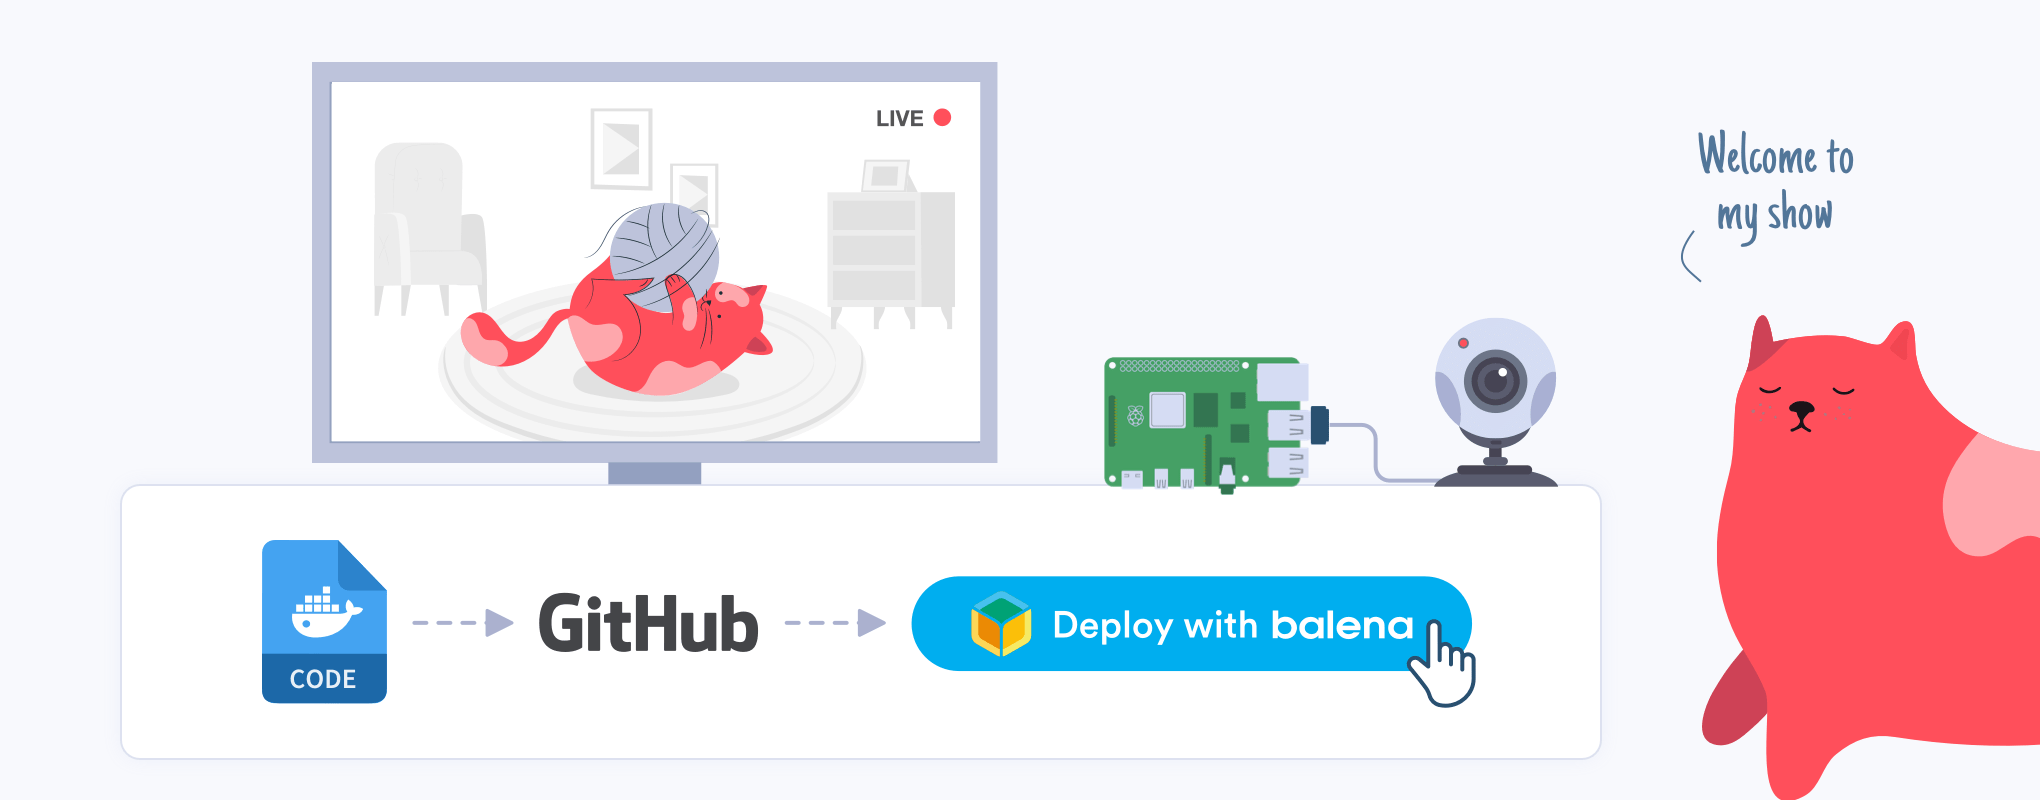
Modernizing my app made it far easier to spy on my American Shorthair.
My cat Tucker is a somewhat predictable animal who likes to curl up in predictable spots around the house, so he’s the perfect subject for surreptitious video surveillance and just the sort of motivating force I needed to rework a Raspberry Pi project I’d been putting off for some time.
I’d previously set up video surveillance on an Ubuntu desktop using an old USB camera and the motion-detecting app motion to successfully catch an office prankster in the act of stealing my chair. It seemed perfect for a DIY Raspberry Pi 3 cat cam. I ported the whole thing to Raspbian and it became TuckerCam 1.0.
The rig worked pretty well, but every time I needed to change the configurations, I had to break out a spare keyboard, monitor and mouse to interact with the Raspberry Pi and Raspbian, now known as Raspberry Pi OS. When it all stopped working one day, I didn’t bother to fix it, so TuckerCam 1.0 went dark.
Time for a better approach
When my step-daughter brought home a Raspberry Pi Zero W from a STEM camp and “gifted” it to me, I decided to try again. This time, though, I wanted to overcome the hassles I encountered the first time around.
Specifically, I wanted a solution that gave me:
- A way to headlessly provision and configure the device, WiFi, software and application variables so I wouldn’t need to attach a keyboard and monitor. Ever.
- A small, Docker-friendly OS that could perform well on the low-power Raspberry Pi Zero
- A way to easily add a second or third camera/device (afterall, Tucker rarely stays in one place)
- A way to more easily modify and preserve all the working settings for the device, application, and my rather dated USB camera
- A way to more easily share it all with other developers
I was learning more about Docker, so containerizing TuckerCam 2.0 was important to help me eliminate as much overhead as possible, give the app a smaller footprint, and make it easier to replicate and deploy. This turned out to be a game-changer, and though Tucker didn’t know it, he’d inspired me to take a giant leap forward in my app development.
Containerizing motion on Debian
My previous Raspberry Pi OS deployment mostly worked, but it was clunky, so this time I started by creating a Docker version based on Debian Stretch. Motion can be installed with a simple apt install motion so turning it into a single-container service wasn’t complicated.
The harder part was figuring out a way to dynamically set variables in the motion.conf configuration file that suited my needs and worked with my old USB camera. Motion has a wide variety of configuration settings, including variables that set the streaming port, the height and width of the video stream, whether to output still images, the palette to use, the frame rate, and so on.
In TuckerCam 1.0, I hard-coded these settings into the config file. This time, I wanted to store the variables as part of the container application and make them easier to edit on the fly rather than in a fixed, one-off motion.conf file. That way I could more dynamically adjust them for different cameras and make it easier for other developers to make their own modifications.
I decided to set these values using environment variables, which turned out to be a three-step process. I had to replace the default motion values in /etc/motion/motion-dist.conf with shell variables, store the variable key/value pairs in a Docker .env file, and use envsubst in the running container to substitute the shell variable placeholders with the proper values.
Modifying the default motion-dist.conf configuration file is a bit of an eye strain (made harder when Tucker pawed my keyboard), but it was otherwise straightforward. For example, here are three of the 14 values I replaced with shell variables:
“`apacheconf
…
Image width (pixels). Valid range: Camera dependent, default: 352
width $WIDTH
Image height (pixels). Valid range: Camera dependent, default: 288
height $HEIGHT
Maximum number of frames to be captured per second.
Valid range: 2-100. Default: 100 (almost no limit).
framerate $FRAMERATE
…
“`
I saved this updated file as motion-template.conf and created a motion.env file to hold the key/value pairs to match the shell variables:
toml

CAMERA_NAME=TUCKER2

DAEMON=off

EXPOSE_PORT=8081

FRAMERATE=20

HEIGHT=480

OUTPUT_PICTURES=off

RESTRICT_LOCALHOST=off

STREAM_QUALITY=50

TZ=America/New_York

V4L2_PALETTE=0

VIDEO_DEVICE=/dev/video0

VIDEO_INPUT=-1

VIDEO_NORM=15

WIDTH=640
In order to use these values in my container, they needed to be applied on the running device. I created a start.sh bash script to run envsubst (to do the environment variable substitution) and to start motion with my updated configuration file. I’d previously used sed to do variable swapping, but found envsubst to be much simpler. It ingests my motion-template.conf file and outputs an updated motion.conf:
“`bash
!/bin/bash
Replace shell variables with environment variable values
envsubst < motion-template.conf > motion.conf
Start motion with the customized config file
motion -c motion.conf
“`
Finalizing the Docker build
With these three files complete, I created a simple docker-compose.yml to build my containerized application. In its most basic form, it looked like this:
yml

version: '2'

services:

  motion:

    build: ./

    env_file:

      - ./motion.env

    network_mode: host

    ports:

      - 8081:8081

    privileged: true
I used a single directory for my build context, so I created my Dockerfile there and added basic content to install motion and gettext-base, which provides envsubst. I also used the environment variable EXPOSE_PORT in the Dockerfile so the motion video stream would be available externally.
“`dockerfile
FROM debian:stretch
Set the environment port variable
ARG EXPOSE_PORT
ENV EXPOSE_PORT ${EXPOSE_PORT}
Install motion and gettext
RUN apt update && apt install -y gettext-base motion
Copy the start script and the motion.conf template file
COPY start.sh motion-template.conf ./
Expose the port to externally access the TuckerCam stream
EXPOSE $EXPOSE_PORT
Start the streaming service
CMD [ “/bin/bash”, “start.sh” ]
“`
With everything set, I plugged my USB camera into my workstation and ran docker-compose up -d. The Docker build process worked flawlessly, and when I visited http://localhost:8081, the stream was live (along with Tucker):

Porting it all to my Raspberry Pi Zero with balena
With my code in good shape, I pushed it to a new GitHub repository and contemplated how best to get it running on my Raspberry Pi. Running TuckerCam 2.0 in a container on my workstation was one thing. Getting it to run on a tiny ARM-based device was quite another.
Nowadays, Docker can run on Raspberry Pi OS but, again, I wanted to avoid the manual device set-up and the overhead. I really wanted headless provisioning and management, so I used balena, which runs a Docker environment out of the box in its base balenaOS and provides a dashboard for managing everything. It’s free for the first 10 devices, plenty for scattering TuckerCams around my house.
Balena-ifying my containerized application
The original Dockerfile I used on my x86_64 workstation required a small change to the image source command in order to work properly on the Raspberry Pi Zero ARM processor, namely changing:
dockerfile

FROM debian:stretch
to
dockerfile

FROM armel/debian:stretch
That worked fine if all I wanted was to run TuckerCam 2.0 on Raspberry Pi Zeros, but I preferred a more universal approach that would work with any device type I might use. To do that, I used the balenalib image repository, which offers Debian container images for multiple platforms. I changed the name of my Dockerfile to Dockerfile.template and replaced the FROM line with a wildcard alternative:
dockerfile

FROM balenalib/%%BALENA_MACHINE_NAME%%-debian:stretch
With this line, each device type is automatically detected and the proper image for its architecture is used. For the Raspberry Pi Zero, this automatically translates to balenalib/raspberry-pi-debian:stretch. When I later used a Raspberry Pi 3, this automatically became balenalib/raspberrypi3-debian:stretch. Now, I never have to edit my Dockerfile.template or create multiple versions for different device types.
Setting environment variables
In my workstation test, I had placed all my motion settings in a motion.env file, which automated the process of setting the values I wanted in motion.conf. This worked well, but the values only applied during the build process. If I made a change to some variable in motion.env, I had to rebuild and redeploy my container.
That’s not a huge deal-breaker, but balena offers a way to apply build variables and save all the key/value pairs in the balenaCloud application itself. That lets me edit settings from the balenaCloud dashboard and apply the same variables to each new TuckerCam 2.0 device I add to my balenaCloud application. I can also override the values on a device-by-device basis without having to redeploy.
To take advantage of this capability, I created a balena.yml file that set environment variables in much the same way as my motion.env file:
yml

applicationEnvironmentVariables:

  - CAMERA_NAME: TUCKER2

  - DAEMON: off

  - EXPOSE_PORT: 8081

  - FRAMERATE: 20

  - HEIGHT: 480

  - OUTPUT_PICTURES: off

  - RESTRICT_LOCAL_HOST: off

  - STREAM_QUALITY: 50

  - TZ: America/New_York

  - WIDTH: 640

  - VIDEO_NORM: 15

  - V4L2_PALETTE: 0

  - VIDEO_DEVICE: /dev/video0
To use this file, I placed it in the root of my TuckerCam GitHub repo so it loads and sets all my variables using Deploy with balena without me (or users of my repo) having to retype them. Whenever I want to make a variable change, I can do it in the balenaCloud dashboard, where my changes are automatically detected and my container is restarted with the updated values.

This capability was especially useful when I was trying to tweak the video device and palette settings to get motion to run correctly with my older USB camera.
Armed with my new balena.yml, I removed the redundant env_file lines from docker-compose.yml and deleted my motion.env file:
~~env_file:~~
~~- ./motion.env~~
One more tweak to my original Dockerfile enabled me to shrink the size of the container image, which was important given my Raspberry Pi Zero’s limited power and relatively slow WiFi.
In my original Dockerfile, I used apt to install motion and gettext-base, but balena has a built-in package installer script, install_packages, which installs what I need and cleans up afterward. Using install_packages instead of apt reduced the size of my container by 52 MB, or about 18 percent, to just 233 MB total.
So, in my Dockerfile.template,
dockerfile

RUN apt update && apt install -y gettext-base motion
became:
dockerfile

RUN install_packages gettext-base motion
Everything else in my motion-template.conf and start.sh stayed the same. I updated my GitHub repo with my code changes and turned to deploying my app.
Multiple ways to push code
When running Docker locally, building and deploying my motion container was a simple matter of using the CLI to run docker-compose up -d. Deploying to balenaCloud can also be done from the command line (after installing balenaCLI) or I could skip the CLI and just use the browser-based option with Deploy with balena.
To do that, I could either create a new balenaCloud application from scratch and manually enter my GitHub repo URL and environment variables, or I could use Deploy with balena to wrap everything into a single step that doesn’t require manual data entry or anything to be installed on my workstation.
I took the Deploy with balena route because it eliminated the need for me to install any image-build capability on my workstation. Instead, my images are built in the balena cloud straight from my GitHub repo code and pushed directly to my Raspberry Pi Zero or other devices.
Balena has an API endpoint to make this work, so I could either point my browser to https://dashboard.balena-cloud.com/deploy?repoUrl=https://github.com/balenalabs-incubator/balena-motion to deploy my application or add a single line of text to my GitHub repo README.md file, which wraps that link around an image “button” and makes it easy to deploy (or redeploy) directly from GitHub:
md
[](https://dashboard.balena-cloud.com/deploy)
The URL to the repo isn’t necessary in the README.md because the balena endpoint automatically uses the referrer address. So, in my GitHub repo, that simple line added the Deploy with balena button, which looks like this:
Provisioning the device
One of my key TuckerCam 2.0 goals was to avoid having to connect a keyboard and monitor to initially configure my device, so I didn’t want to burn Raspberry Pi OS to the SD card I planned to use. With balena, I could instead use a device- and application-specific base OS image.
While my container release was being built on balena’s cloud servers, I returned to the balenaCloud dashboard, clicked on my new application, and clicked the Add Device button to define and download the appropriate image for my Raspberry Pi Zero. I added my WiFi credentials, saved the .zip file to my workstation and flashed it to an SD card with balenaEtcher. This custom image was just 139 MB compared with 432 MB for Raspberry Pi OS Lite, the smallest image currently available.

Since I was able to set the WiFi credentials in the base OS image itself, I didn’t have to do anything to get the Raspberry Pi Zero online. A few minutes after I inserted the SD card and powered it up, it automatically joined my wireless network and started to download the balena OS and my container image. The device showed up in my balenaCloud dashboard, where I could see its IP address, and access the HostOS or container shell from the built-in terminal:

TuckerCam 2.0 on the Raspberry Pi Zero was up and running, and I never had to attach any peripherals to the device to provision it. In fact I didn’t have to manually log in to the Raspberry Pi or use the command line on my workstation for anything.
To test my dynamic configuration set-up, I toyed with the width and height of the image/stream and changed the EXPOSE_PORT value to access the TuckerCam from port 8088 instead of 8081. I did this in the Environment Variables settings in the balenaCloud dashboard. My configurations applied without trouble, and the container restarted automatically with the new port setting.
I can now quickly change or redeploy TuckerCam 2.0 any time I want. I tried that by flashing another SD card with the same custom image I used before, inserting it into another Raspberry Pi Zero and powering on. Within a few minutes, the second device joined my balenaCloud application, downloaded my motion container image, applied all the proper environment variables, and gave me two views of Tucker:
 |
 |
I was pleased with how it turned out and, though Tucker was none the wiser, he’d helped me accomplish my goals for TuckerCam 2.0, namely:
- Headless provisioning (no peripherals needed)
- Lightweight and containerized
- Dynamic config variables
- Easy to add more devices
- Easy to deploy and share with
Deploy with balena
Additional optimizations
Working with a Raspberry Pi Zero can be especially frustrating because it’s not nearly as snappy as an RPi 3 or 4. It can take a while to reboot, download code and get started, so part of this exercise was my desire to make everything as small as possible.
In my earlier workstation test, I was a little concerned about the size of my motion container, which stood at about 475 MB. That seemed rather large, but making a couple basic tweaks (and porting it to ARM) helped shrink the image to 233 MB, or about half the size of the original.
To shrink it even more, I created a version with Alpine that ended up at just 75 MB! Unfortunately, the Alpine folks changed their repos recently and installing the motion package (without building from source) no longer works. Bummer.
Final thoughts
Whether you have a cat to motivate you or not, I hope my experience with transforming my TuckerCam from a desktop app to an IoT-ready containerized version inspires you to try it with your own applications. The ability to configure my Raspberry Pi without cables or peripherals, more easily modify the application and configuration settings through the balenaCloud dashboard and GitHub workflows, easily scale it all to multiple devices, and more readily share it with Deploy with balena made a world of difference.
Do you have an interesting project you’ve converted for use on balena? Let us know about it and share your experiences in the balenaForums!