
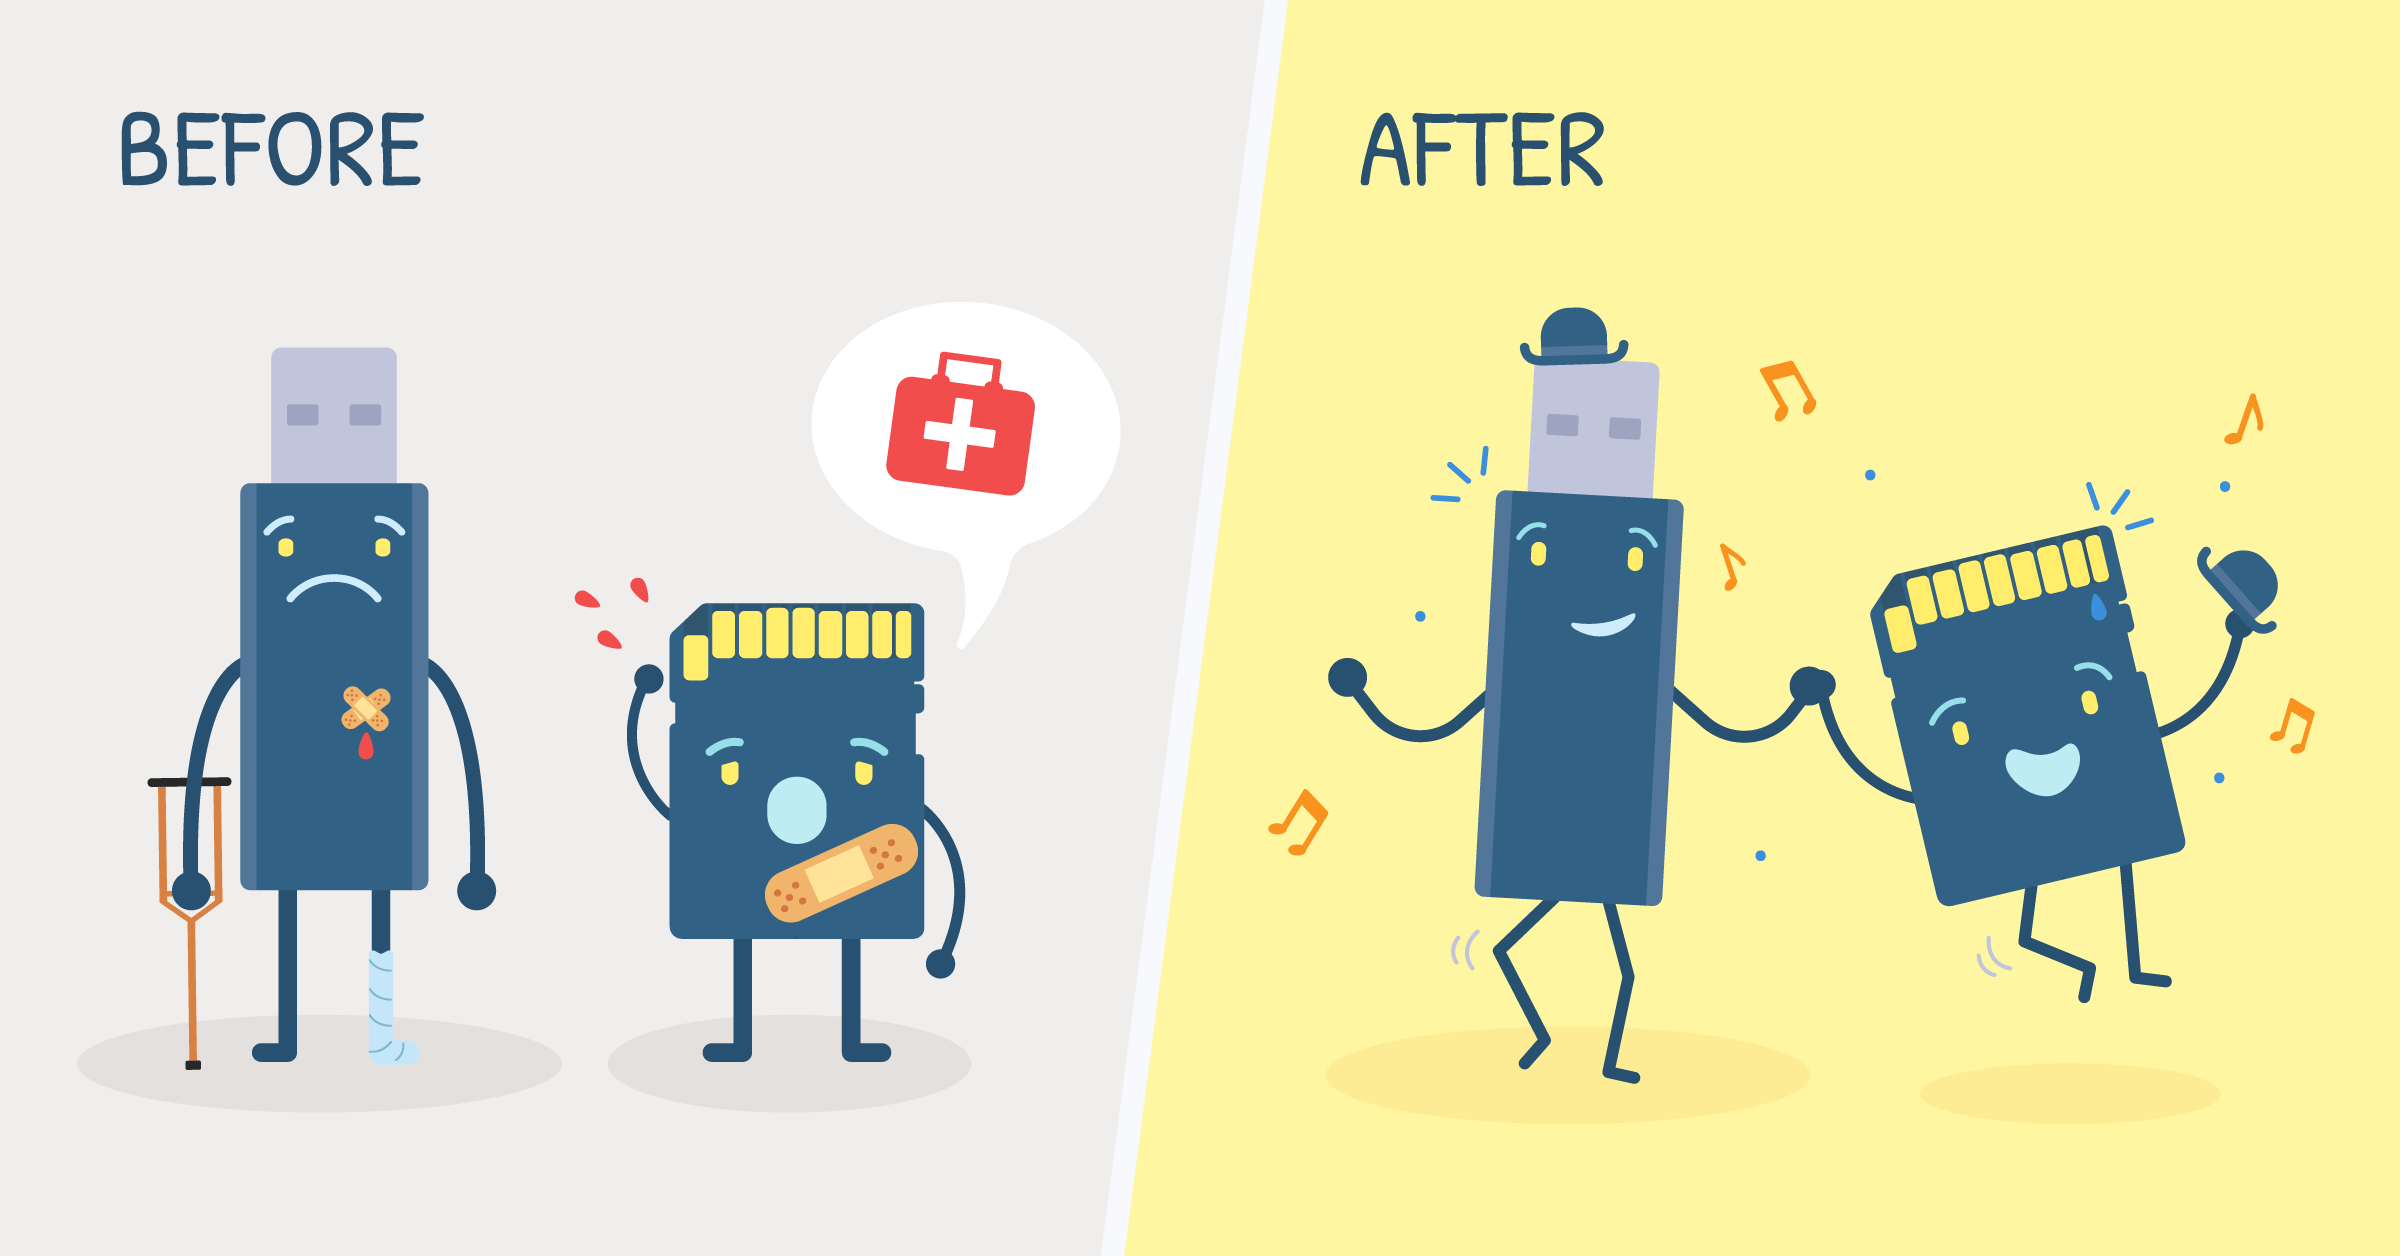
We put USB sticks and SD cards through a lot of work (and abuse), and sometimes it leaves them in a state where they’re unreadable. Learn how to determine if this happens to your tiny data drive and get some tips on how to make it usable again.
As you can probably guess by the types of projects we build and the contents of our blog posts, we are big fans of the Raspberry Pi, Jetson Nano, and similar single board computers here at balena.

Our team flashes hundreds of SD Cards a week while experimenting and deploying devices. We use Etcher, our open source image flashing utility, that’s quite popular in the community. Etcher can write Raspbian to an SD Card for a Raspberry Pi, flash Ubuntu, Fedora, and other popular Linux distributions to USB drives to boot a PC, or write out the contents of an existing disk image for archival purposes.
Etcher is used millions of times per month to successfully write USB sticks and SD Cards. Unfortunately, there are some rare exceptions where a flash is unsuccessful, or, more commonly, a user flashes a Linux image but then does not realize that their Windows or Mac PC can’t read its contents. I see that scenario play out quite a bit on our Forums, so I thought I’d take a few minutes to explain the process of recovering a “broken” device.
The basics
First and foremost, Etcher is completely incapable of “bricking” or killing a drive– it just doesn’t have that kind of functionality. The application can only write the contents of the provided image file byte-by-byte to the storage medium on the chosen device.
Unfortunately, SD Cards and USB drives absolutely can wear out, and have limited write cycles that they can sustain. Once the storage blocks on the device begin to fail, the drive may certainly become unusable if it does not have some wear leveling built in that can compensate for the failing blocks and move the data to healthy blocks.
To be more precise, Etcher attempts to write data, the drive accepts the data to be written, but the storage bins responsible for keeping all the 1’s and 0’s don’t do their job and permanently hold the data. Two things can occur here:
The flash fails (either during the “writing stage,” or later, in the “verification” stage): Etcher reports that the flash was unsuccessful. If the flash fails during the “writing” stage, the drive is probably dying, and it may be time for a new one. Verification stage errors likely indicate faulty sectors on the device. Windows users may get a false-positive result here on occasion though, as Windows creates a folder on the drive in between the writing and verification stages.
The drive doesn’t realize that the data did not persist or get safely stored in each cell, and happily reports that things completed successfully! But when you go to use the drive later and Ubuntu, Raspbian, or another operating system expects to find data in a specific location, and then that data isn’t there, it’s not going to be very happy. The installation process could halt, the Raspberry Pi might not boot, or other types of system crashes could occur. Again, it’s likely that you might be in need of a new drive, though sometimes re-flashing can help, and data that didn’t stick the first time might just stick the second time.
Alternatively, as mentioned earlier, the other common “dead” device that we see on a regular basis is actually not dead at all: it’s just not recognized and understood by your computer. If you think you might be in this situation, here are some tips to help you regain access to your device.
How to Recover a USB Drive or SD Card
Using Windows
The method you use to restore a device depends upon the operating system your computer uses. Let’s start off with Windows.
In Windows, you’ll need to use the diskpart utility, which is a tool that comes built into Windows, though you’ll need to use the command line to make use of it.
Open cmd.exe from the list of installed applications, or from the “Run…” dialog usually accessible by pressing Ctrl+X. Type ‘cmd.exe’ without the quotes, and press Enter.

In the resulting terminal window, type diskpart.exe and press Enter. You’ll be asked to provide administrator permissions, and a new prompt window will appear. The following commands should be run in the new window.

Run list disk to list the available drives. Take note of the Number ID that identifies the drive you want to recover. In this screenshot, “Drive 2” is the attached 32gb SD Card that I want to recover:

Run select disk N, where N corresponds to the ID from the previous step. And then, run clean. This command will completely clean your drive by erasing any existing file system.

At this point the drive is now blank, and can be re-flashed with Etcher. Or, you can add a partition back to it and format it, so that it acts like a normal storage device. Do the following:
- Type
create partition primary - Type
select partition 1 - Type
format quick

Once successfully formatted, you should be able to use your USB drive or SD card again.
Using MacOS
Follow these instructions if you’re using MacOS. Start by opening the Terminal application by going to the Finder, navigating to the Utilities folder, and double-clicking Terminal.

Type diskutil list and press Enter. You will see the drives listed, just look for the one that matches your device and make note of the “Identifier” on the right side. In this example, you can see a 32gb SD Card is “disk2”.

Type diskutil eraseDisk FAT32 UNTITLED MBRFormat /dev/diskN where the “N” is the value shown in the previous command. So in this example, ‘disk2’ is the one that we need to use.

Seeing similar results means that this drive should be ready to use again.
Using Linux
Make sure the drive is unmounted (umount /dev/xxx), and run the following command as root, replacing xxx by your actual device path:
bash

dd if=/dev/zero of=/dev/xxx bs=512 count=1 conv=notrunc
We hope this helps restore your drive
At this point you have reset and restored your USB stick or SD card back to a working condition, assuming it was simply in a corrupt state or was not being recognized by your operating system.
However, as explained above, the long-term memory blocks on SD Cards and USB sticks can and do wear out, especially when repeatedly undergoing intense data-writing operations such as image flashes (as opposed to occasional writing of files and folders in the traditional portable storage use-case).
The flash cells used in these devices are typically cheaper quality, and just don’t seem to have the storage integrity and reliability that enterprise grade spinning disks and SSD’s have, ultimately meaning data is not saved as it should be. Etcher will simply try to copy the data in a block-by-block fashion from the image file in use, but if the storage block doesn’t accept the bits and bytes, data corruption can occur and it may be time for a new drive.
Hopefully these steps can help in situations where a bad flash has occurred though, and get you back on your way to deploying Raspberry Pi’s or other IoT devices!
hello, i tried to clean the disk but i dont have access, do you know why?
Yeah…same exact error as “swifter.” Brand new 128GB SanDisk. Etcher is the first and the only thing to read/write from/to this brand spanking new SanDisk USB stick. Windows can’t recognize 127.99 GB out of 128 and EaseUS can’t do anything to it. Ya’all hijacked me ‘lil stick thingy
Thanks @geeett … That is what I was just about to recommend, ha.
thu@thu-lg:/$ umount /dev/sbd1
umount: /dev/sbd1: No such file or directory
thu@thu-lg:/$ umount /dev/sdb1
thu@thu-lg:/$ dd if=/dev/zero of=/dev/sdb1 bs=512 count=1 conv=notrunc
dd: failed to open ‘/dev/sdb1’: Permission denied
I tried in my Ubuntu 20.04, and it dont work @dtischler
Try this one instead @vctqs1 :
sudo dd if=/dev/zero of=/dev/sdb1 bs=512 count=1 conv=notruncPerhaps you need the
sudopermissions for it.Sorry, I copy wrong logs
I still cannot work @dtischler
Strange. I wonder if your SD Card has gone into “write-protect” mode, indicating that the drive is dying and the drive is basically giving you an opportunity to back up your data.
Alternatively, you can try using this Utility to unset the read-only flag if it is present:
https://github.com/BertoldVdb/sdtool
However, using the same command, I get:
Same problem as “swifter” on a very little-used SanDisk 128GB USB drive.
Very disappointed.
Any new ideas? The stick will not format & is not recognised by Windows Explorer.
OK – so purchased a new SanDisk Cruzer 32GB USB and tried again with the exact same result. As in – failure.
Very, very disappointed.
What image were you attempting to flash @FatDave?
I wonder if adding “clean” and a file system type might be necessary in your case, as shown here: How to use DiskPart to clean and format drive not working on Windows 10 | Windows Central
I can confirm there is a problem with your software balena team. I flashed a USB stick with Pop!_OS using Etcher which became unusable or repairable. I read through your above documentation regarding old or worn out memory so I tried it on a newer SD card which had the same result and is now also unusable. I tried your plus other’s recommendations regarding cleaning steps and only get errors on both usb stick and SD card. I tried using disk management tool in windows. Was able to create a new simple volume but when I go to format the disk in windows management it comes back with an error saying “the system cannot find the file specified”. Both my storage devices are now unusable after running Etcher (both were fine prior) If that’s not a definition of bricked what is?