
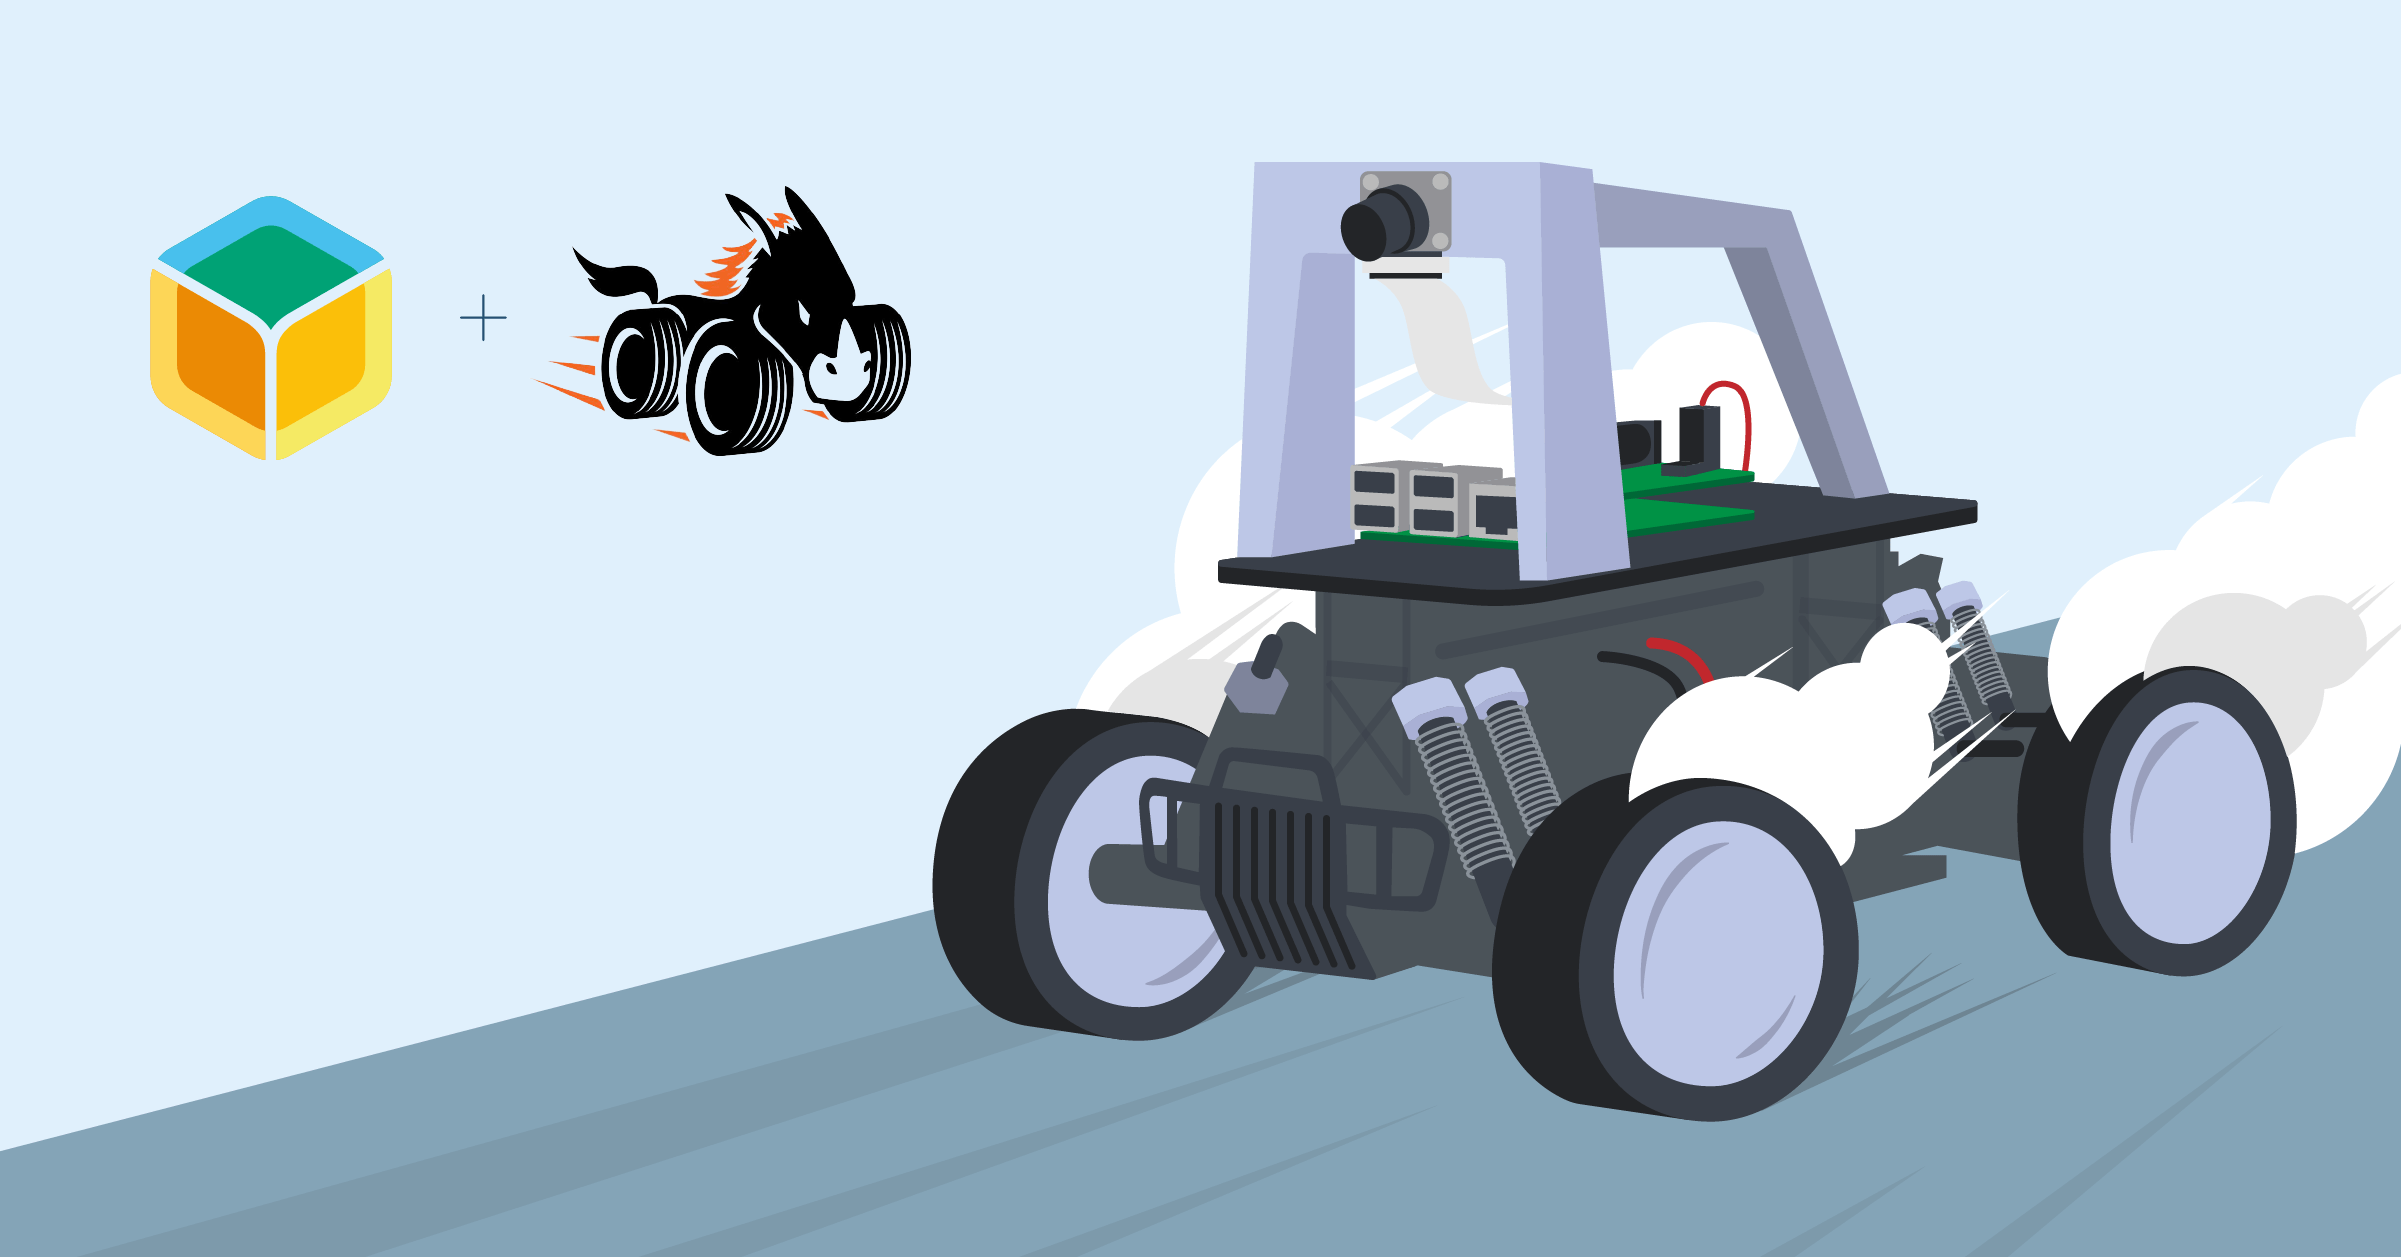
Over the past several years at balena, we have noticed more and more customers, potential customers, and even makers and hobbyists asking about balena’s ability to manage fleets of autonomous vehicles and robots. While we do indeed have customers that use balena for their fleets of drones, submersibles, and delivery bots, I thought it would be neat to explore the topic further and build a sample project using DonkeyCar.
Building a full-size vehicle and attempting to build an autonomous driving stack from scratch seemed a bit excessive (not to mention expensive as I do not have a fully-equipped manufacturing facility and garage), so I began to look at some of the more entry-level autonomous driving projects such as Amazon’s DeepRacer, Nvidia’s JetRacer, and the DonkeyCar project. I wanted a self-driving car that was cheap to build, crafted from readily available parts, and had a relatively easy construction. Any of the choices would have likely worked, but I ended up going with DonkeyCar based strictly on the fact that I had most of the parts needed already, so that’s what we’ll cover in this blog post.
Check out the background first, or jump ahead to the project guide.
Some background
![]()
Before we dive in, let’s cover a few basic assumptions and jot down a few notes about the project. First, the DonkeyCar ecosystem is vast and the subject matter expertise is quite deep. Fortunately, the DonkeyCar team and project Maintainers have excellent documentation. This blog post is a high-level project, but you might need to refer to the DonkeyCar Docs for more specific and granular details along the way.
Second, there are two distinct versions of a DonkeyCar: an actual car built, assembled, and driven in “real-life”, and a “virtual” version that looks quite similar to a video game. The virtual DonkeyCar actually runs the same software as the real one and thus can be rather convenient for training, testing, and fine-tuning the self-driving AI. Both are covered here in this guide.
Finally, that “Training” piece of the project mentioned just a moment ago, where the DonkeyCar is taught how to drive…That part of the process can take a **VERY** long time unless you have a high-performance GPU or GPU-enabled cloud server. It is NOT ideal to train directly on the DonkeyCar, but we are going to do it anyways, just to demonstrate it works. Once you get the hang of driving, you will most likely want to train in the cloud, which is beyond the scope of this blog post (but is well documented over on the official DonkeyCar Docs, of course!)
Now with those ground rules out of the way, let’s get building!
Tutorial
Software required
There are four main repositories that cover all the various options for building this project:
- DonkeyCar – Physical Build – Raspberry Pi
- DonkeyCar – Physical Build – UpBoard
- DonkeyCar – Virtual Build, Raspberry Pi
- DonkeyCar Simulator – Intel NUC / x86
For this blog post, we will be using the first one, building an actual physical DonkeyCar using a Raspberry Pi. If you have an UpBoard, you can use the second repo linked above, which targets x86 boards. If you are only interested in deploying the software stack and forgoing the physical build, then the third repo will allow you to push a DonkeyCar container onto a Pi, and then connect to a simulator for virtual racing.
Of course, if there is no public Simulator running, then you might need to build your own…but not to worry, the fourth repo above will handle that for you.
Besides your preferred DonkeyCar software, you’ll want these tools to help you provision your device and use the balenaCloud platform:
- a free balenaCloud account (first ten devices are free and fully-featured with no payment required to start)
- a tool to flash the device image onto the SD card, like balenaEtcher
- if you’re wanting to work on and admin your fleet via command line, you’ll want balenaCLI
Hardware required
Take note that the construction of the DonkeyCar chassis requires about $250 USD worth of parts, with a Bill of Materials consisting of:
- An RC Car from this list:
- Exceed Magnet Blue
- Exceed Desert Monster Green
- Exceed Short Course Truck Green, Red
- Exceed Blaze Blue, Yellow, Wild Blue, Max Red
- DonkeyCar conversion kit: Mounting frame, motor driver, wires
- Raspberry Pi 3 or 4
- Raspberry Pi Camera
- Battery Pack
- SD Card
- A track: DonkeyCar is meant to race laps around a racetrack.
The car can be driven through a web browser, using the keyboard, a Bluetooth gamepad, or even via the accelerometer on your cell phone. While driving, the DonkeyCar will record data about the car’s throttle position, steering position, and what it sees in the camera.
When you are finished recording, all of the data is collected into a folder called a “Tub.” This metadata is then used as the input to create and train an AI model. Once complete, the output of that process (the resulting model file) can then be used by the DonkeyCar to attempt to drive itself. The Raspberry Pi loads the model, and attempts to navigate and move around the track on its own!
Assembly
We are not going to cover the physical steps needed for the construction of the DonkeyCar in this Readme, because that is covered in detail in their Documentation. The basic premise however, is that you will remove the plastic car body from the RC Car chassis, and replace it with the DonkeyCar frame. Place the Raspberry Pi on the frame, the motor driver on the frame, and the Pi Camera in the holder slot near the top of the handle. Run the jumper wires from the Pi to the motor relay board. Connect the camera via it’s ribbon cable. Secure everything in place with included screws, and the DonkeyCar is complete!
Again, for a proper and thorough walkthrough of the build, refer to the DonkeyCar documentation or their build video here: https://www.youtube.com/watch?v=OaVqWiR2rS0
Here is where we vary from their Documentation and begin to “balenafy” the project:
- In the official DonkeyCar workflow, they begin to walk you through installation of Raspbian, installation of added software and packages such as Tensorflow, PyTorch, OpenCV, Keras, and the rest of the bits necessary for the machine learning functionality. Then, they have the user install Python and the DonkeyCar application. At the end of the process, if everything worked, the web interface should load and the car can be driven using the controls.
- However, in this repo, we have bundled all of those bits into a Dockerfile ready for deployment with balena, and instead of performing all of those manual installation steps, you can instead just click this button to launch a build in the cloud, provision a balena device, download an SD Card image, and end up with the same result:
More specifically:
- Click on the Blue Button just above.
- Log in to balenaCloud, or create an account if you do not already have one. (It is free 🙂 )
- Create a name for the application in the pop-up modal, and choose the RaspberryPi 3 from the drop down list.
- Click Create and deploy.
- Click Add Device.
- You will come to the Summary page. Here, click “Add Device”.
- While developing, it is probably best to choose a Development variant of the operating system, and you can enter your WiFi credentials as well.
- At the bottom of the modal, click “Download balenaOS”.
- After download completes, flash the file to your SD Card with Etcher.
- Insert the SD Card into the Raspberry Pi, plug into your USB Battery pack, and wait a few minutes for it to register itself with balenaCloud and come online.
- After another moment, the Pi will begin downloading the pre-built DonkeyCar container, which will take some time. Get a cup of tea while this occurs.
Once the Pi has finished downloading the container, we have two quick settings we need to add in the balenaCloud dashboard. After each entry, the Pi will reboot, so after you get the first entry in, it will take a moment before you enter the second variable we need to alter. So, you’ll just have to watch closely, but not a big deal.
First, click on Device Configuration on the left in the balenaCloud dashboard, and look for “Define device GPU memory in megabytes”. It is likely set to 16. Click on the pencil icon to edit it, and change the value to 128. Click “Save”. This is going to trigger the first reboot. Click on Summary on the left navigation, and watch for a moment as the device shuts down, then in a moment comes back online. Once it is back “Online”, we can enter the second setting. Click on Device Configuration again, and this time scroll down to “Custom Configuration Variable” section. Click the blue “Add Custom Variable” button. In the name, enter BALENA_HOST_CONFIG_start_x and in the value, just enter a 1. Click Save. This will again trigger a reboot.
We’re ready to drive now, so, it is time to move on to the next section!
Driving the DonkeyCar
With your DonkeyCar fully constructed, and the container downloaded and running, it’s time to test out a few basics before you go for your first drive.
First and foremost, put your DonkeyCar up on blocks so the wheels are off the ground. These cars are FAST, and the first time I attempted to drive, I ran into a wall so hard I snapped an axle and had to order spare parts to repair it 🙁
With the cars wheels lifted, connect the vehicle battery pack if it is not already, and turn on the ESC switch. The car is now live, so be careful!
Next, in balenaCloud, on the Device Details page, open up an SSH session to the DonkeyCar container with the Terminal interface at the bottom right portion of the screen:
Type in cd mycar && python3 manage.py drive and press Enter. The script will launch, and take a moment to complete, but will eventually reach Starting vehicle at 20Hz.
Check the IP address of your Raspberry Pi in the balenaCloud dashboard. Make note of this IP. Open a web browser, and go to http://ip-address-of-your-pi/drive. In my example, this would be http://192.168.0.232/drive.
Now, double check that the DonkeyCar is secure, well-balanced, and those wheels are off the ground. In the throttle and steering applet on that page, click and drag just a tiny bit up from center, and your wheels should start spinning! You can click and drag a bit left, and the steering should match. If not, you’ll want to double check your wiring, check the logs in the balenaCloud dashboard for any errors, and make sure everything has power. If everything works as expected, congratulations, the DonkeyCar is ready to drive.


As mentioned earlier, the official DonkeyCar documentation is more detailed, so you can refer to those Docs for more detailed usage. But keep in mind these important details:
- DonkeyCar is meant to be used on a racetrack, so, you can construct a course using tape, blocks, paint, cups, cones, or any other materials that allow you to make a small course.
- Don’t let DonkeyCar venture out of range of WiFi, or you’ll lose connectivity to it.
- Using the web portal for driving (use a Bluetooth controller for a much better experience than driving via keyboard or phone), drive a few practice laps around your track. When you have a good feel for driving and are ready to capture data, click the “Start Recording” button, and at this point DonkeyCar will begin storing the throttle, steering, and camera feed for later use in the Training process.
- Drive at least 10 laps around your track, preferably more, while Recording.
- Once you have completeled 10 laps (or more), you can stop the Recording.
- Over in the balenaCloud Dashboard, in that Terminal window, press Control-C on the keyboard to exit out of the DonkeyCar application.
- You will see all of the data get written out in a table, and the raw files are stored in the data directory inside of that mycar folder.
Training
Now that we have a bit of sample data recorded and saved, it’s time to begin training our model. Remember, as mentioned above, it is NOT very efficient to train directly on the Raspberry Pi, and using a cloud server or a desktop PC with a GPU will be MUCH faster. However, simply for learning purposes and to keep things organized and in one place, we will in this situation train directly on the Pi. It could literally take 8 to 10 hours or more, so, grab a cup of tea, and sip it VERY slowly. Or do something else in the meantime.
Back in the terminal session in balenaCloud, and still within the DonkeyCar container, run:
donkey train --tub ./data --model ./models/myawesomepilot.h5
Fast forward 10 or so hours, and returning to balenaCloud, you should see that process has completed. The output of all that hard work is the model file. Double check that everything completed successfully, and you should have a file sitting in the models directory called myawesomepilot.h5.
Speeding Up Training
Knowing full well that training on the Pi is not ideal, we simply want to demonstrate functionality in this GitHub repo. If you are interested in offloading the Tub data and training on a PC or Cloud server, have a look at the official DonkeyCar docs here. That will help immensely. 🙂
Drive Autonomously
With the model now ready (hope you slept well), you can try to let the DonkeyCar now navigate your racetrack autonomously. Fair warning, mine did not drive very well with only 10 laps of data, so, be ready to grab it quickly if it starts heading for a wall!
- Place the DonkeyCar on your track.
- Turn on the ESC switch, which sets the car live.
- In balenaCloud dashboard, open up a terminal session to the DonkeyCar container.
- Enter cd mycar && python3 manage.py drive –model models/myawesomepilot.h5
- Navigate to http://ip-address-of-your-pi/drive once again.
- Get ready, the vehicle is about to launch! On the left, click the dropdown menu for Mode and Pilot, and choose Local Pilot.
- The DonkeyCar should begin to make it’s way around your track.
- Be ready to grab it in case of emergency!
Final thoughts and considerations
If you made it this far, congratulations, because you have built an autonomous vehicle that uses machine learning and computer vision to drive by itself, which is an incredible feat. As mentioned throughout, you can iterate faster by offloading the training to a PC with GPU or a cloud server, and you might want to go deeper and begin learning about different models that be trained, algorithm improvements, camera settings, throttle and steering calibration, and many more advanced topics to fine tune your DonkeyCar.
All of those can be explored in their Docs, in great detail. You might also want to begin to explore your local robotics and autonomous vehicle clubs, and certainly keep an eye on the DonkeyCar community meetups, as they host in-person events as well as virtual races (don’t forget to check out that repo above, as well). Learn more about the DIYRobocars community.
Finally, if you do build a DonkeyCar using this blog post, be sure to show us! We’d love to see your build! Reach out on Twitter, the balena Forums, or just post a comment below!
Special thanks
Also, let’s hear it for “FrancisD” of the Official DonkeyCar Discord community for taking the time to double check this build. We appreciate all of the testing and feedback on all of our balena fleets and projects.